The beginning of this is copied from my existing build on JeepForum, but I thought it might be worthwhile background. I have various pictures of things before the frame swap if anyone is interested, just ask.
A little backstory, purchased the Jeep back in 2004, was a salvage rebuild.

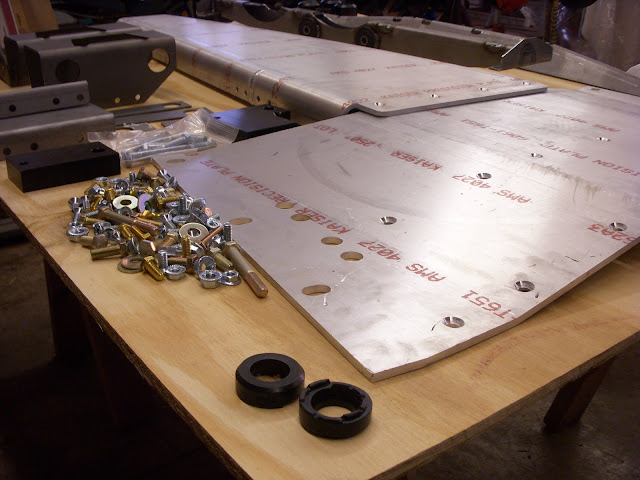
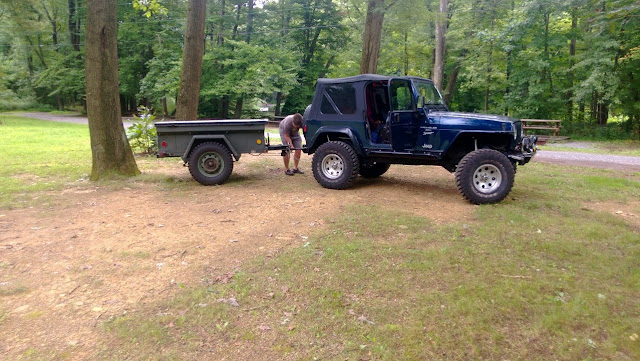
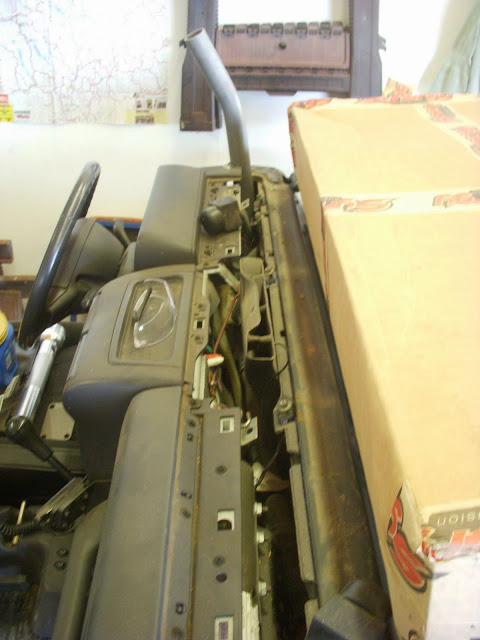
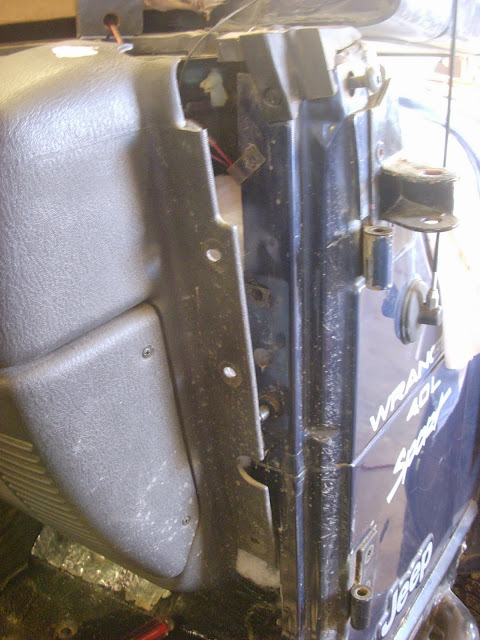
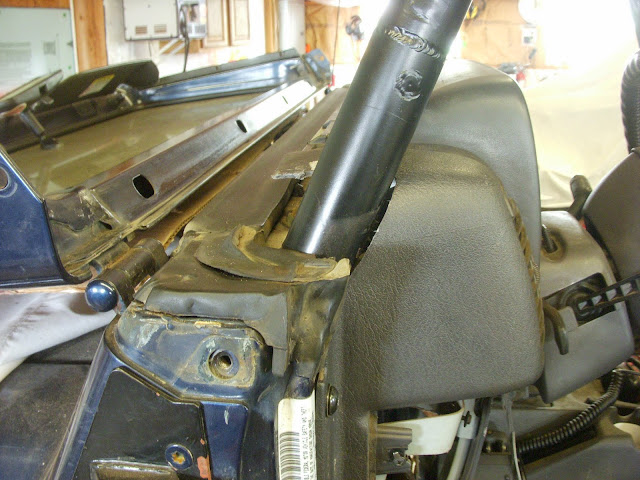
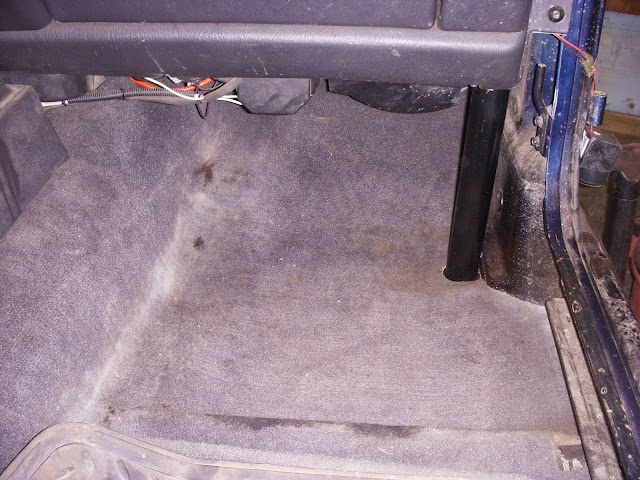
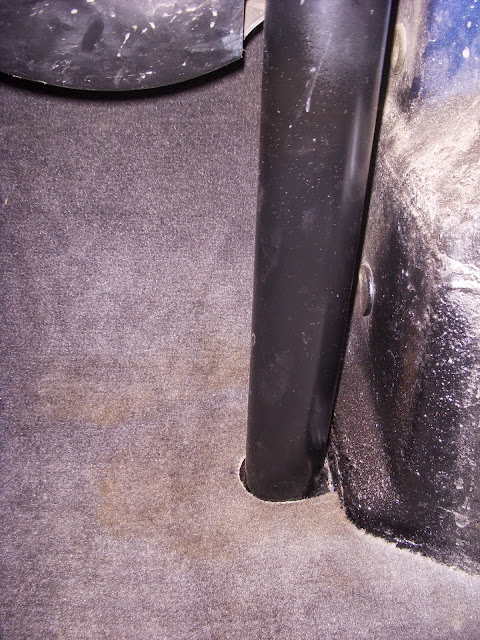
As of 2012, the Jeep has made it to this. If anyone has any questions about anything in between, let me know, but most of it is normal stuff so I will skip it for now.

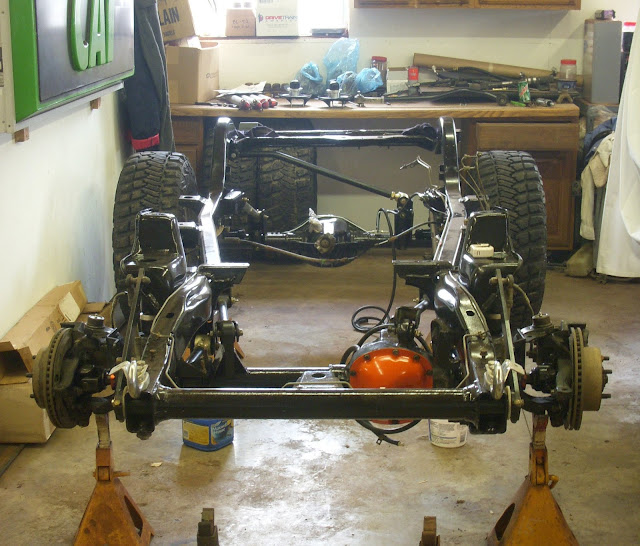
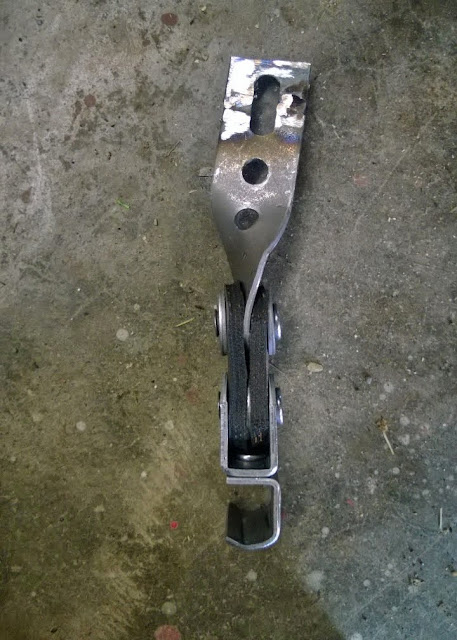
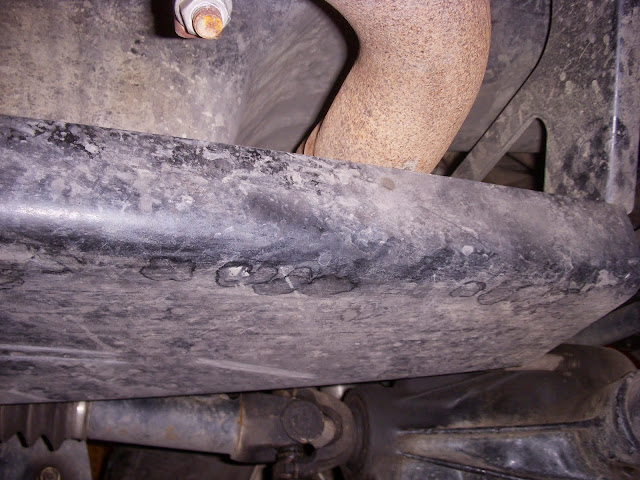
Back in the fall of 2011, I noticed a soft spot in the frame by the rear crossmember. Since the frame is already a little twisted, due to it being totaled by a previous owner, I figured it was best just to swap it out.
Purchased a frame from Davey's Jeeps. Not sure where it was from, but it has no rust. A little red dirt came out when I washed it the first time.

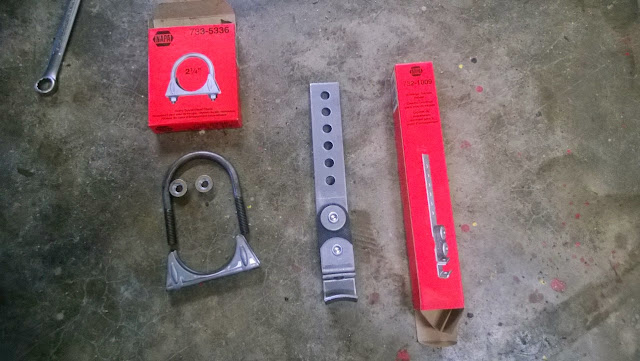
Plans are:
Swap frame
Raise body mounts 1.25"
Change shock mounting
Detroit in front
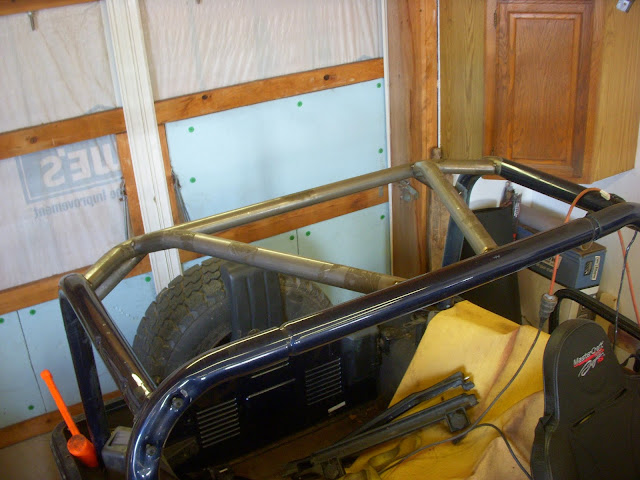
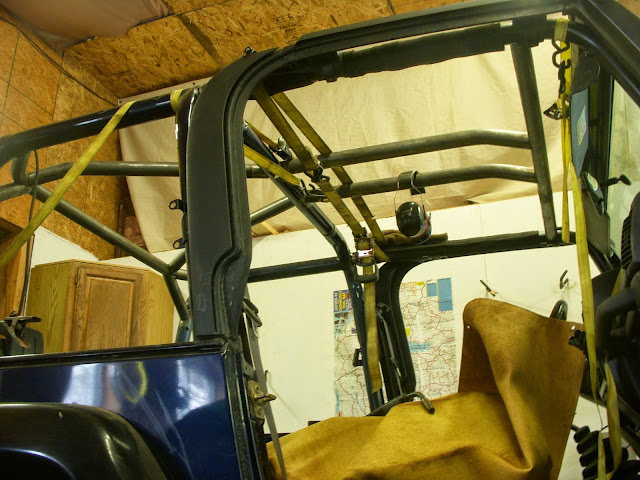
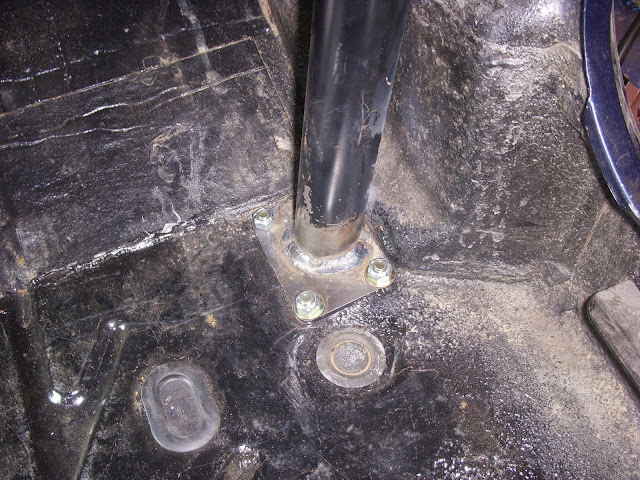
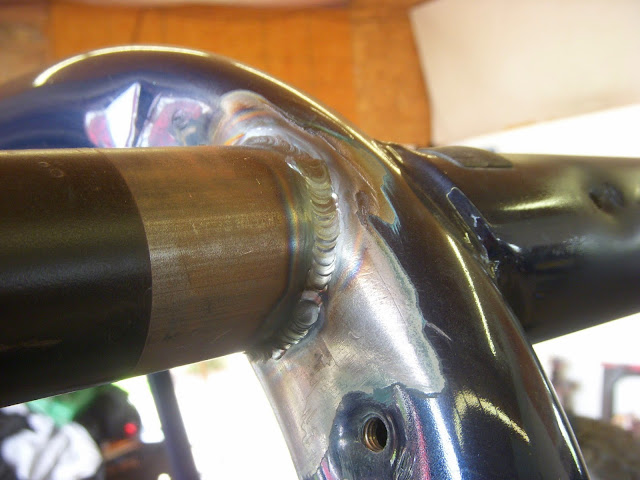
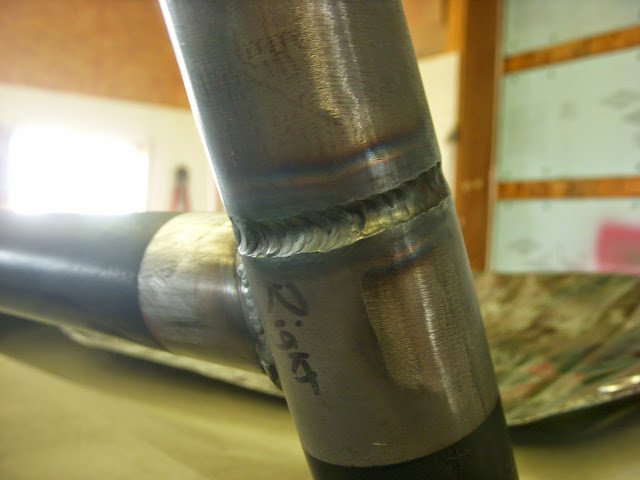
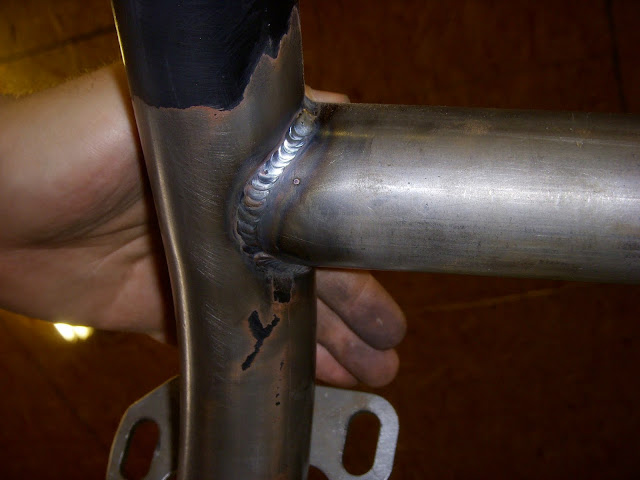
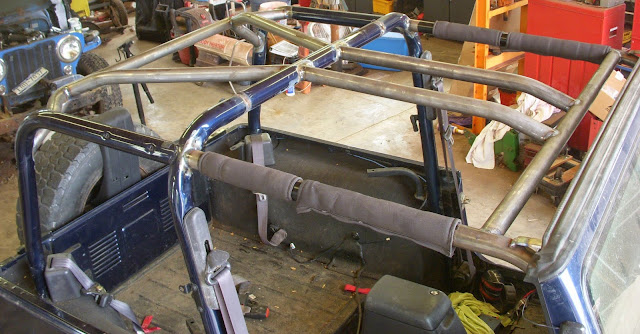
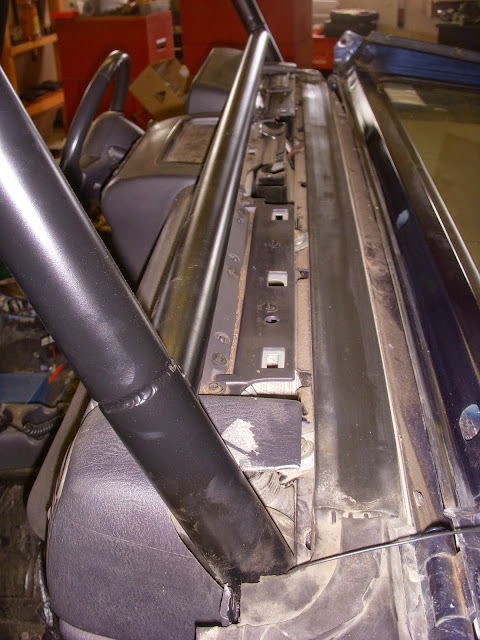
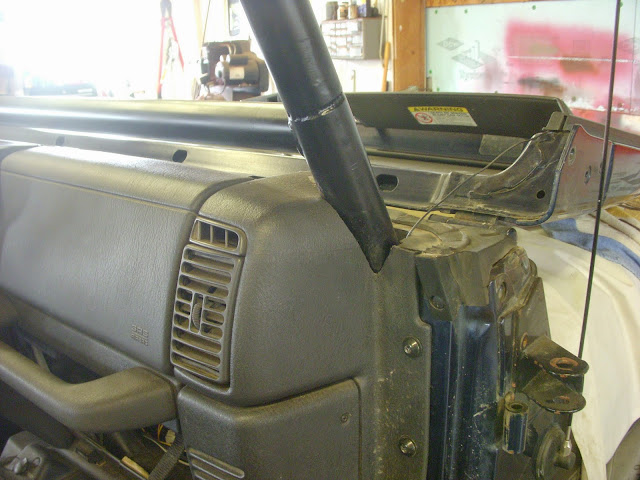
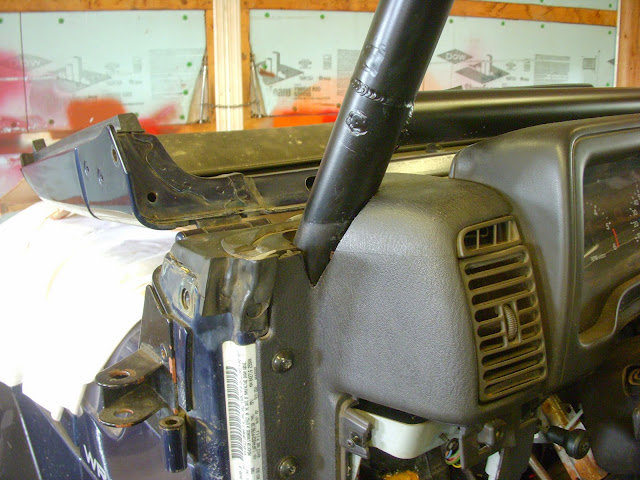
Poly Perf cage
Mastercraft seats
Savvy Under Armor
A little backstory, purchased the Jeep back in 2004, was a salvage rebuild.
As of 2012, the Jeep has made it to this. If anyone has any questions about anything in between, let me know, but most of it is normal stuff so I will skip it for now.
Back in the fall of 2011, I noticed a soft spot in the frame by the rear crossmember. Since the frame is already a little twisted, due to it being totaled by a previous owner, I figured it was best just to swap it out.
Purchased a frame from Davey's Jeeps. Not sure where it was from, but it has no rust. A little red dirt came out when I washed it the first time.
Plans are:
Swap frame
Raise body mounts 1.25"
Change shock mounting
Detroit in front
Poly Perf cage
Mastercraft seats
Savvy Under Armor