Jeffro06
Well-known member
Since I'm late to the game here, I figured I'd give you a condensed version of my build......
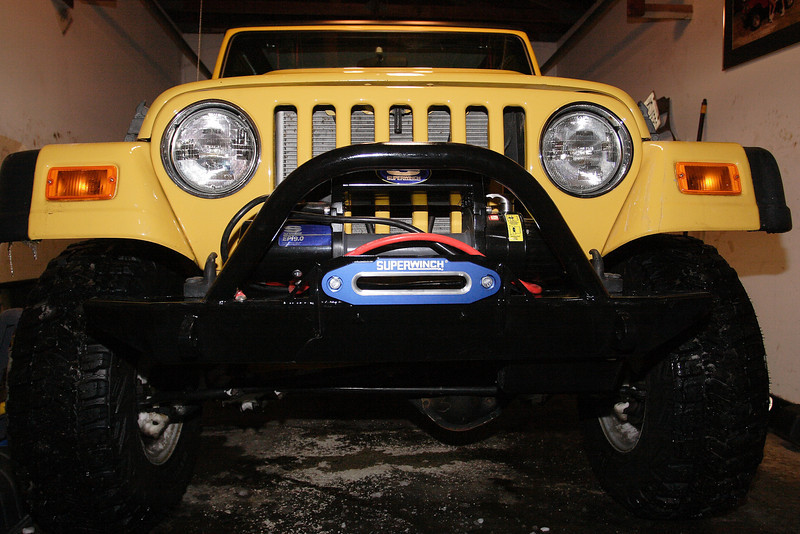
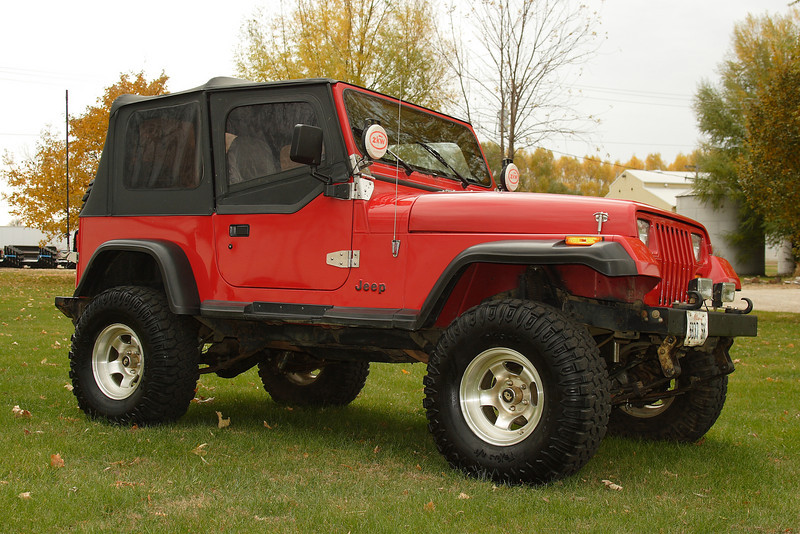
Before my Rubicon I had a YJ. Here's one last shot of it....
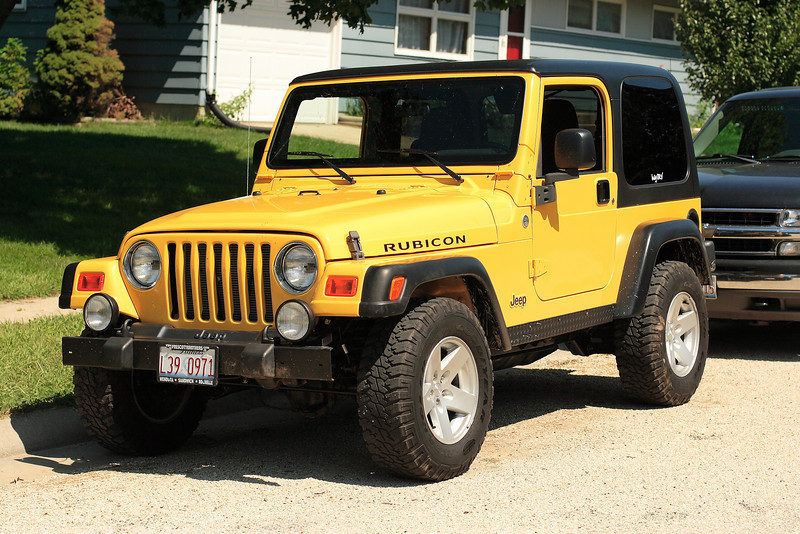
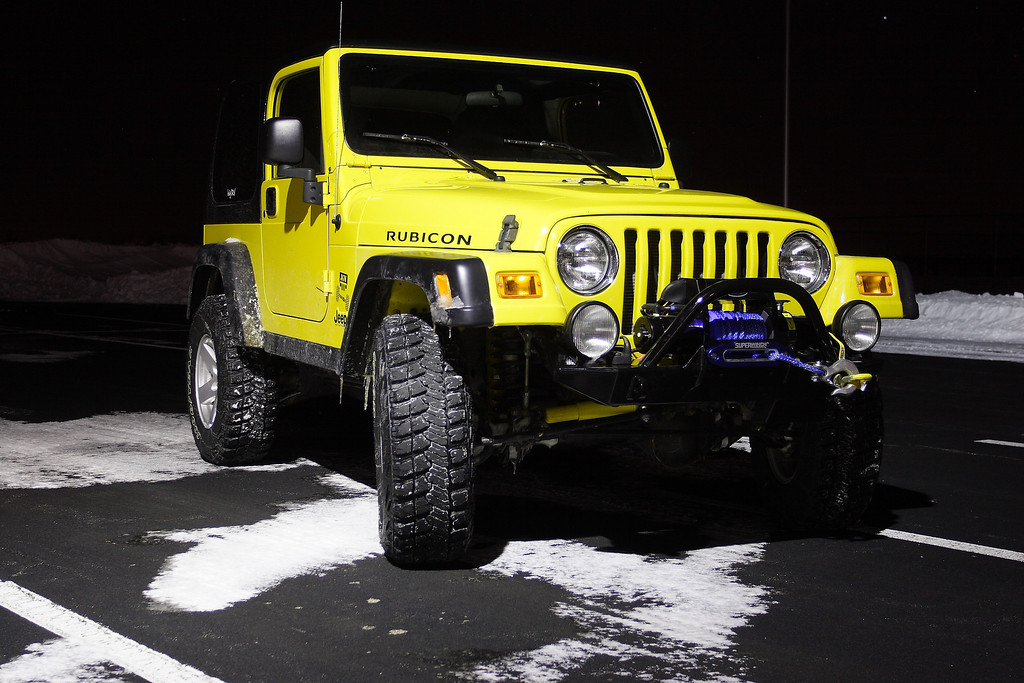
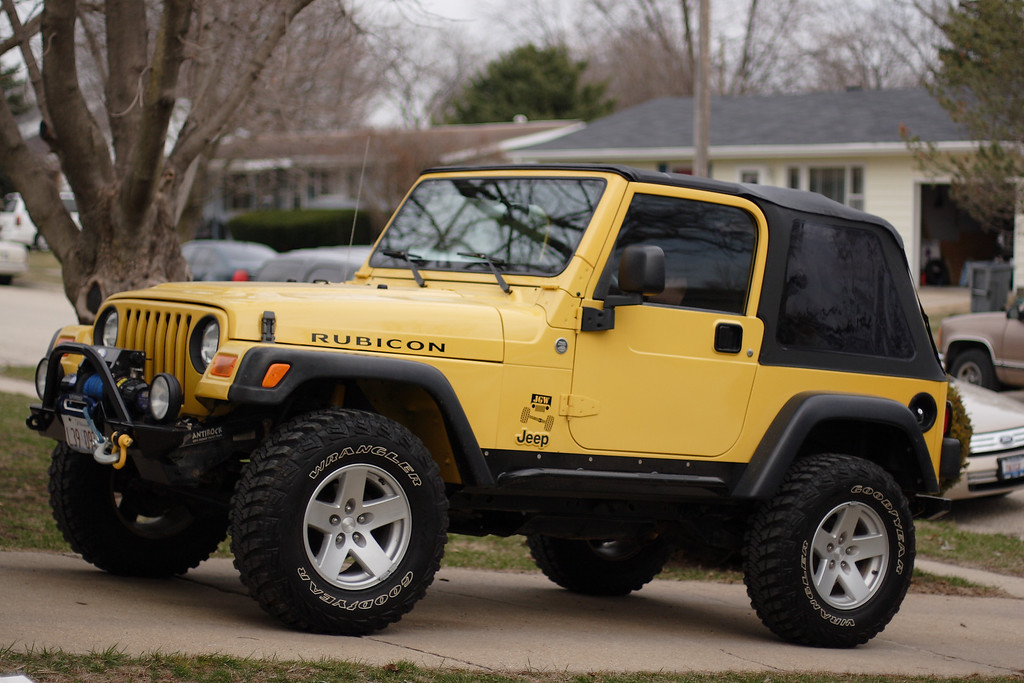
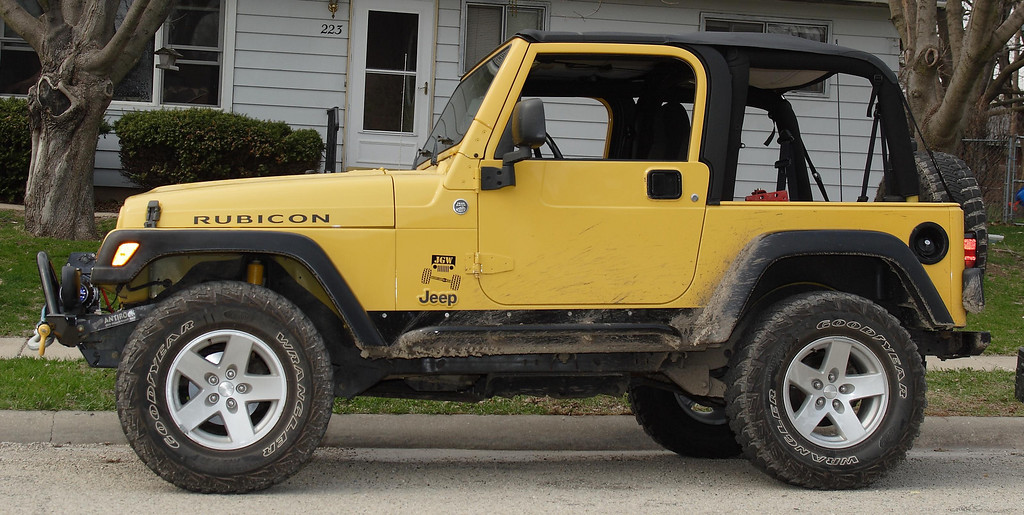
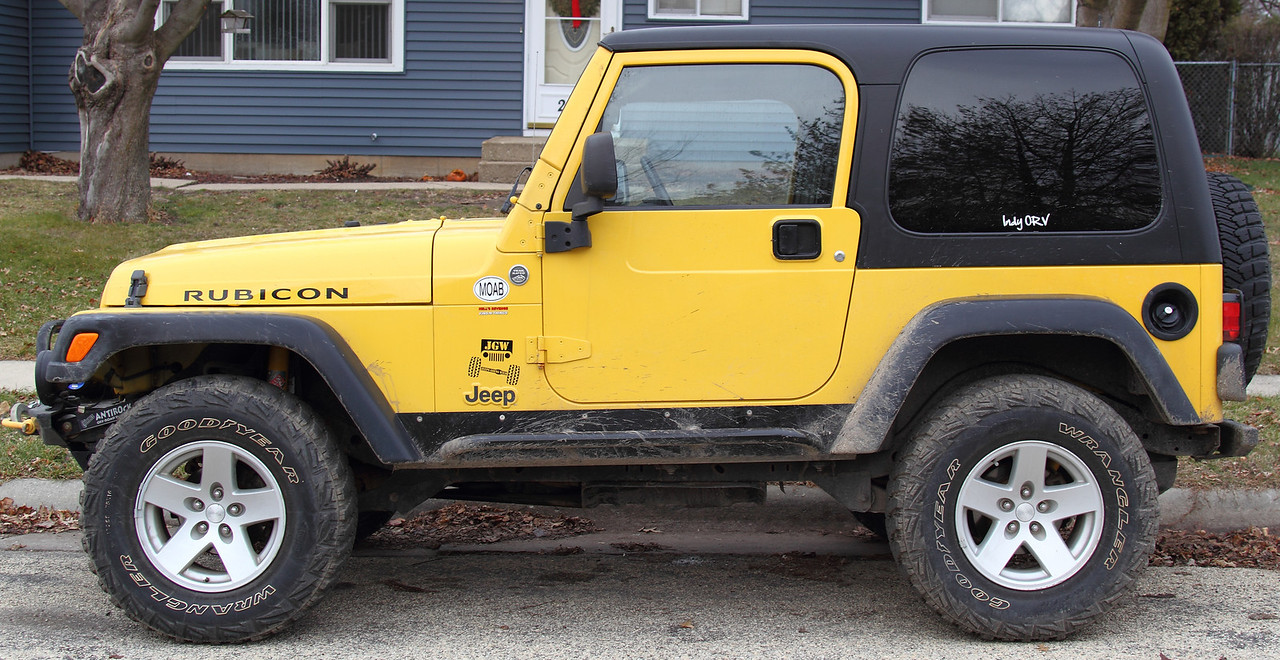
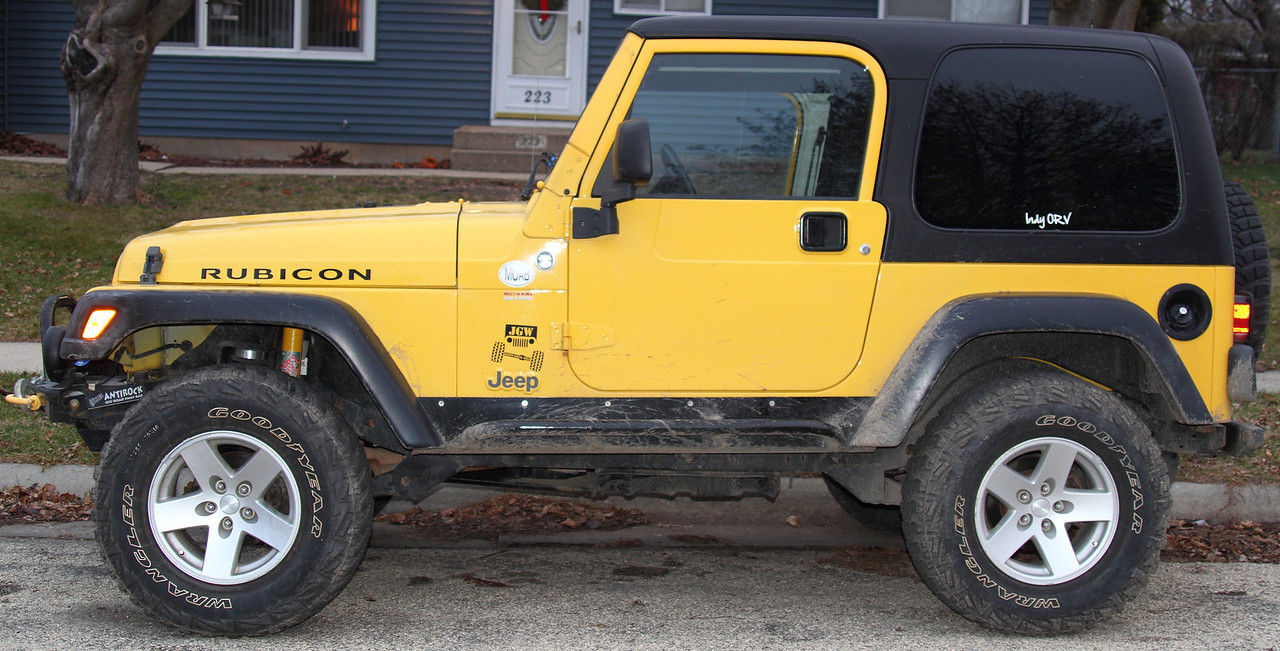
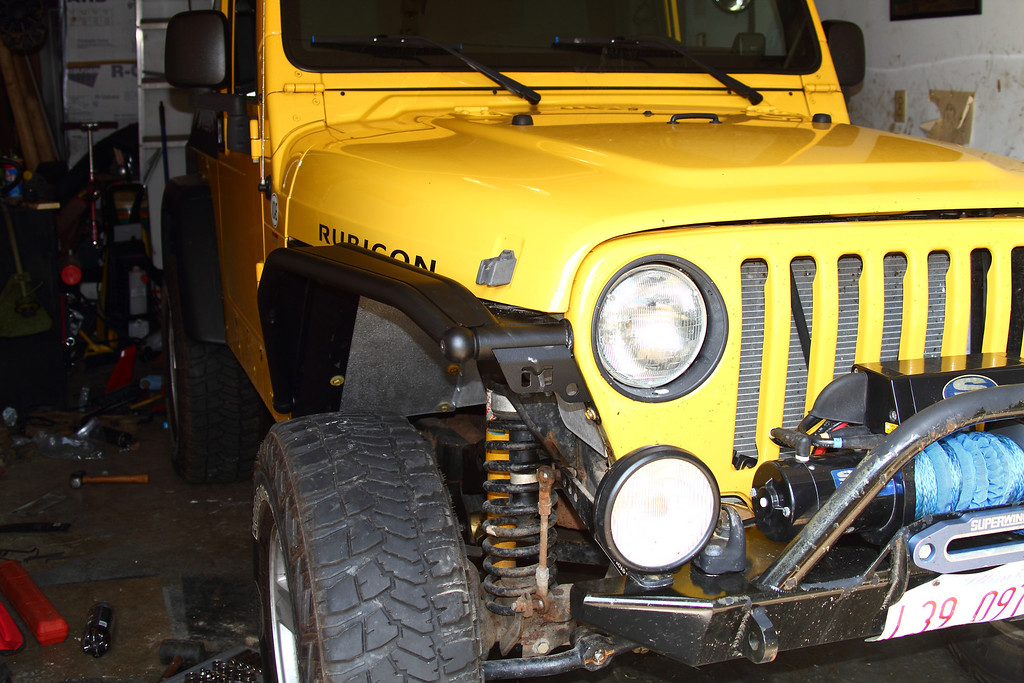
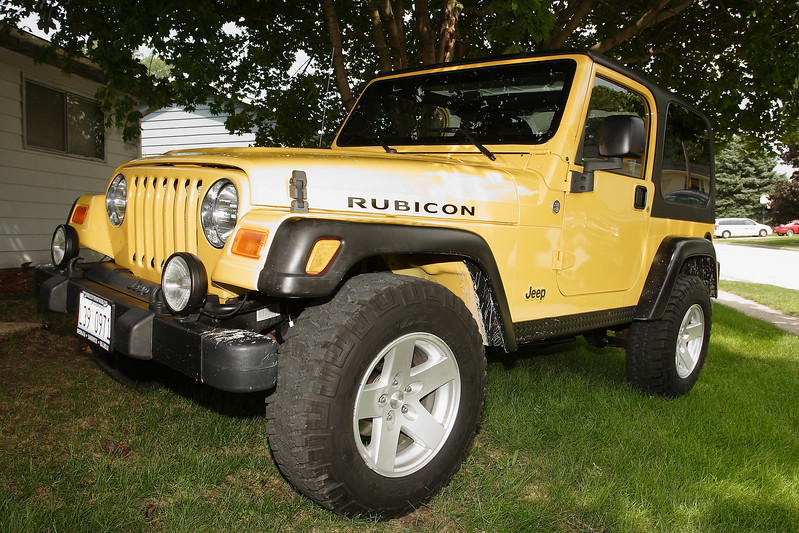
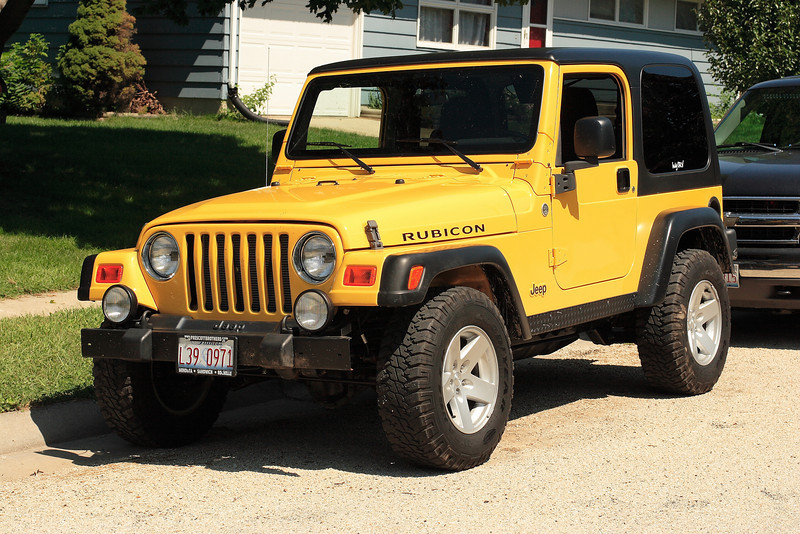
I always wanted a Rubicon, and was able to aquire this one:
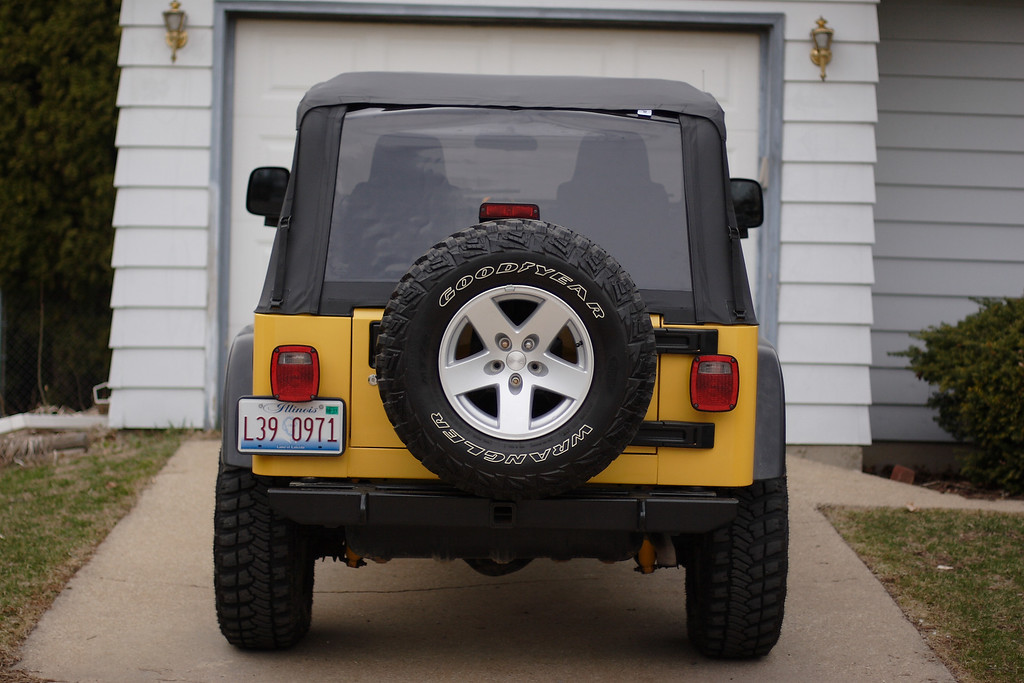
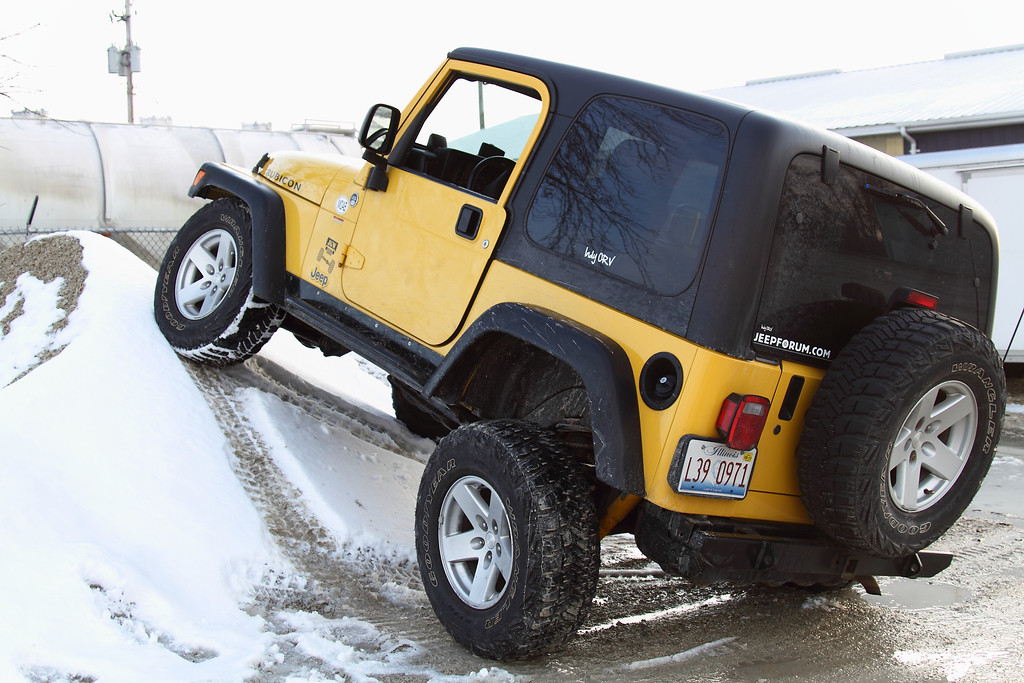
It's first dirt....lol.
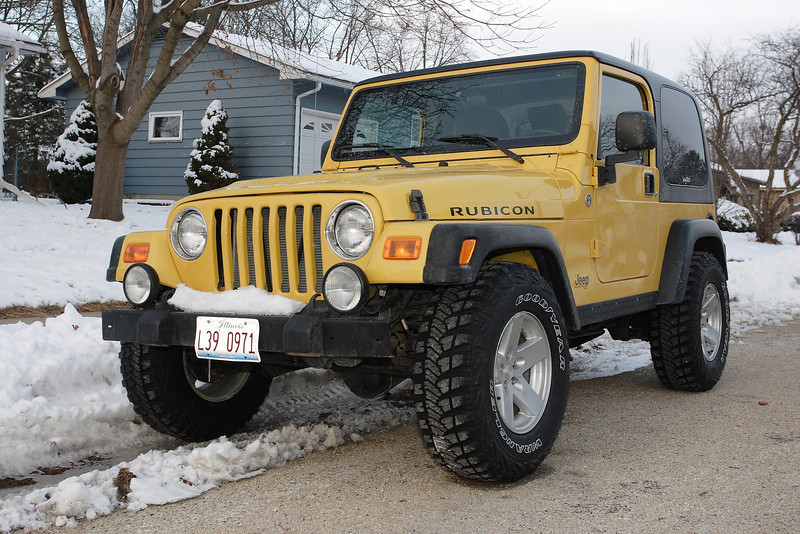
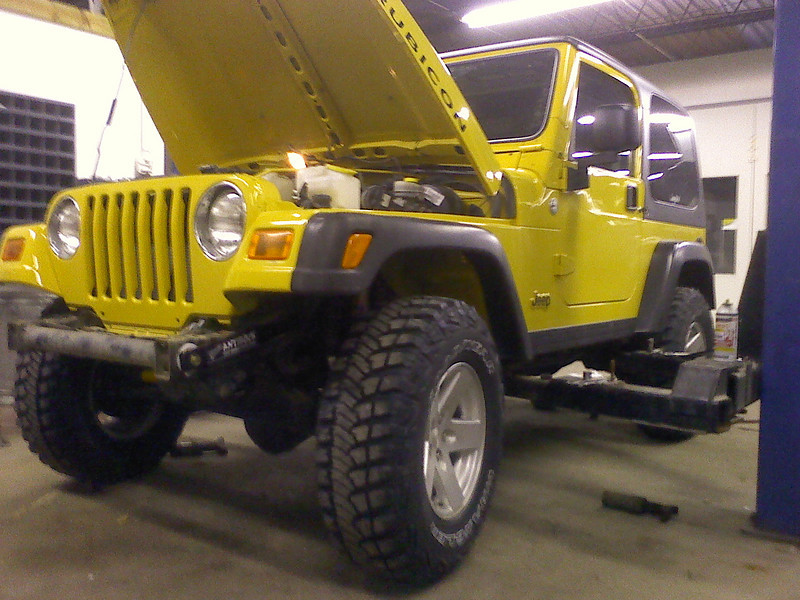
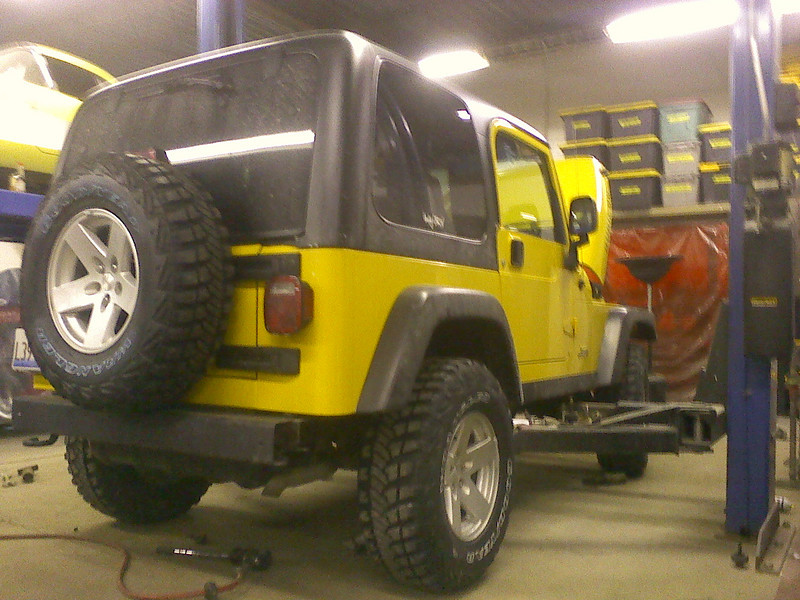
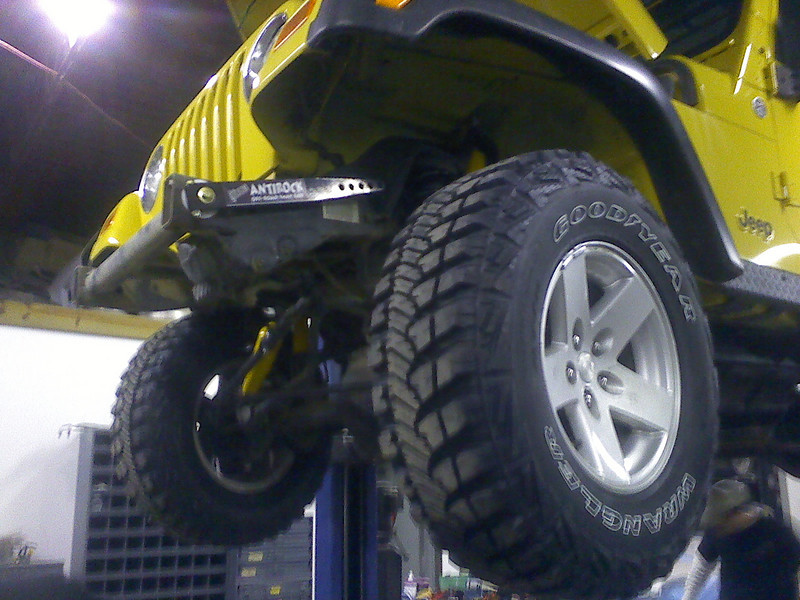
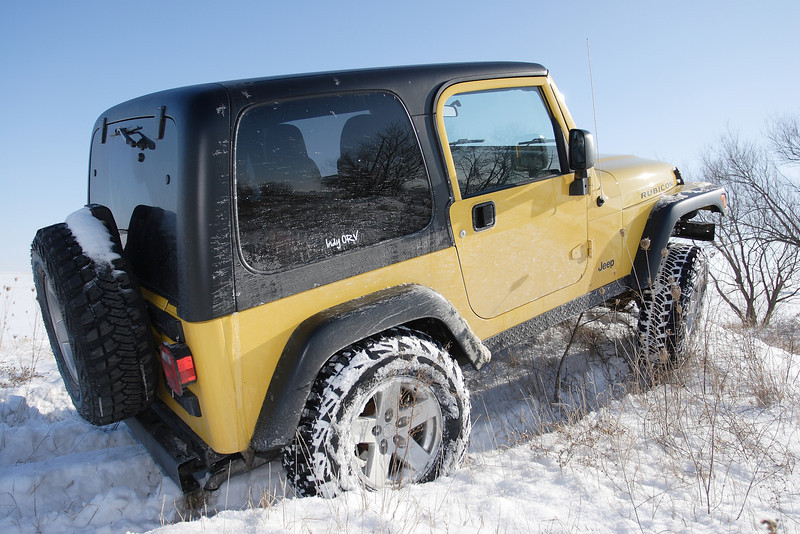
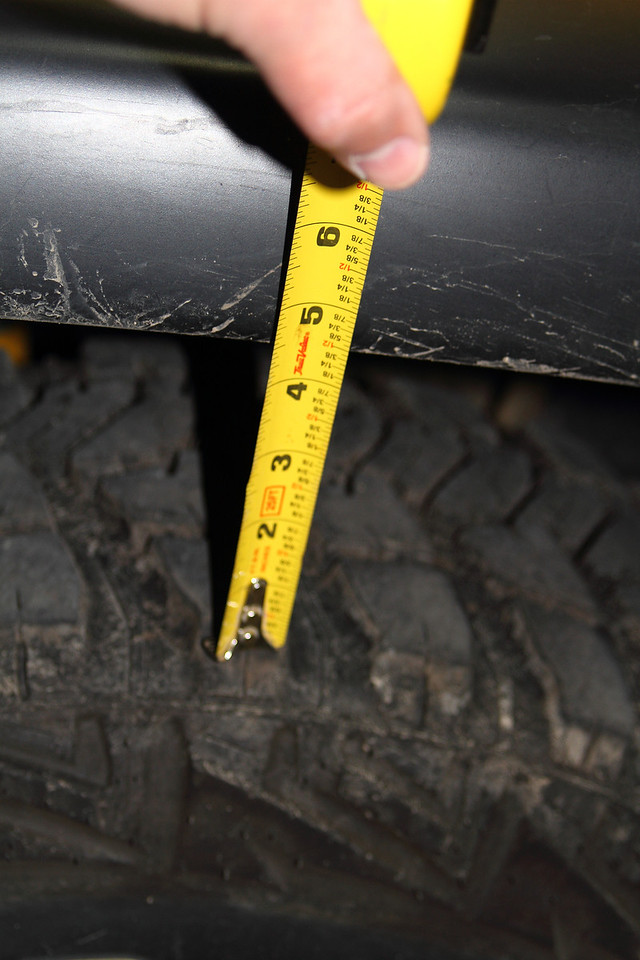
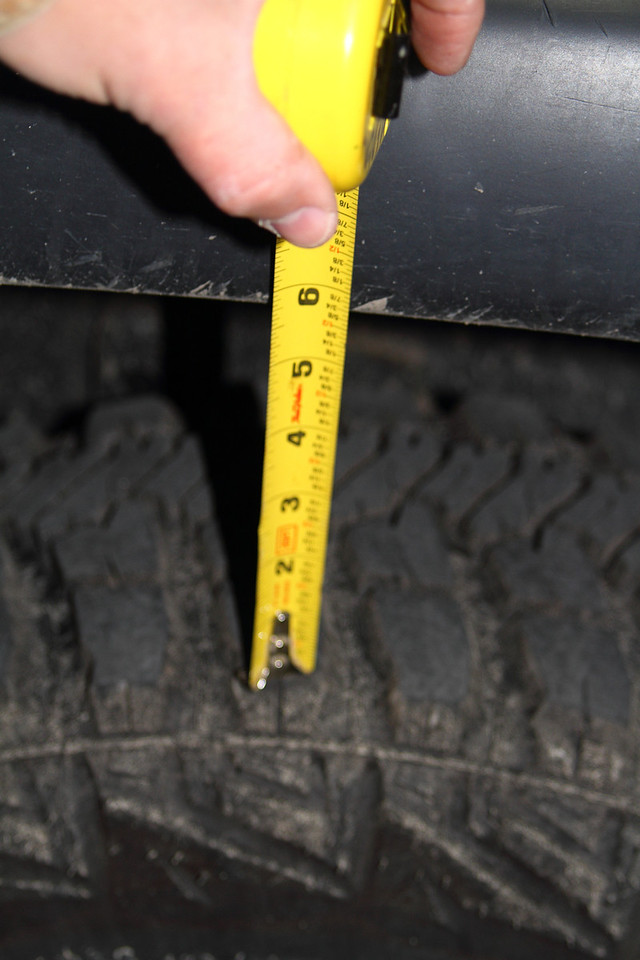
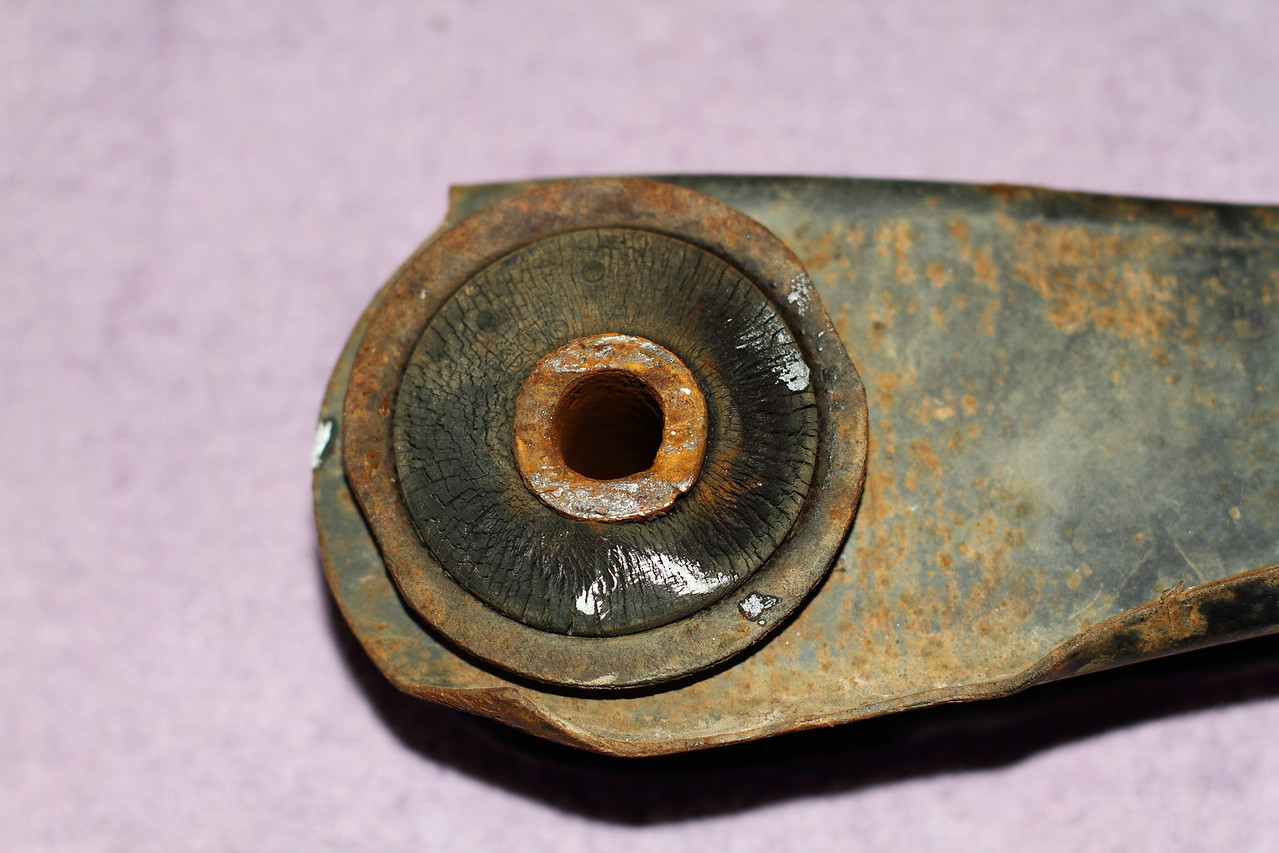
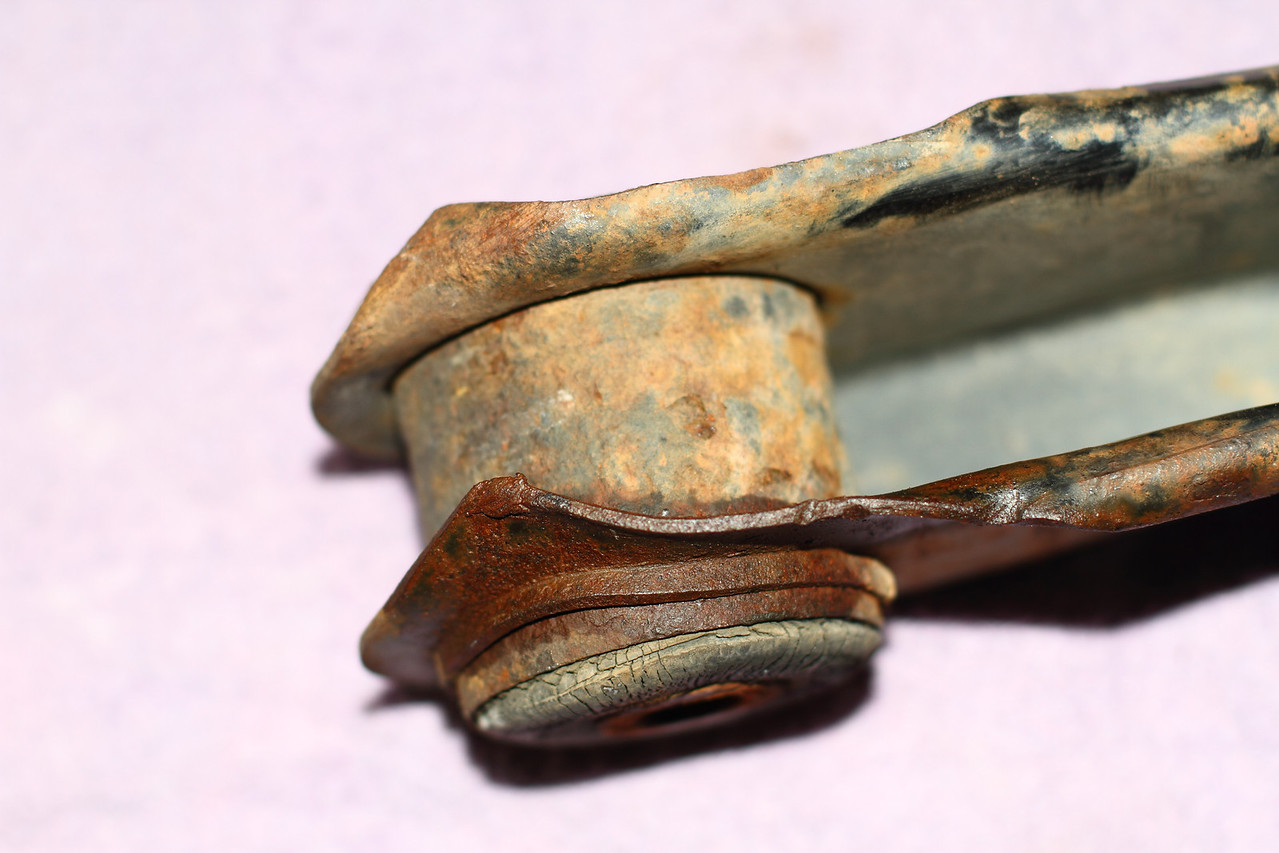
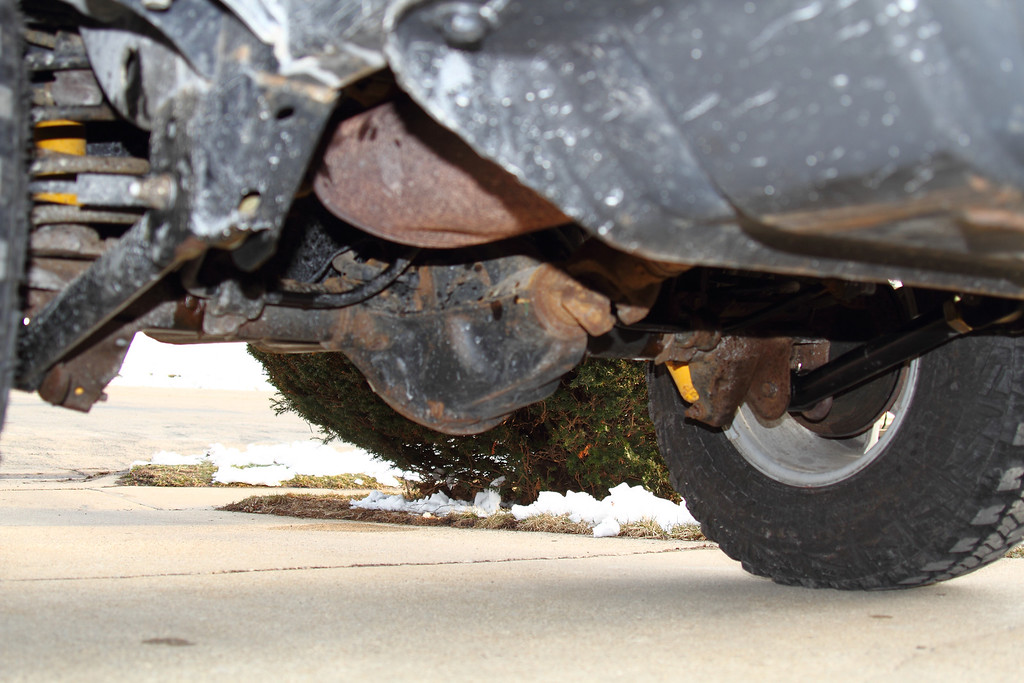
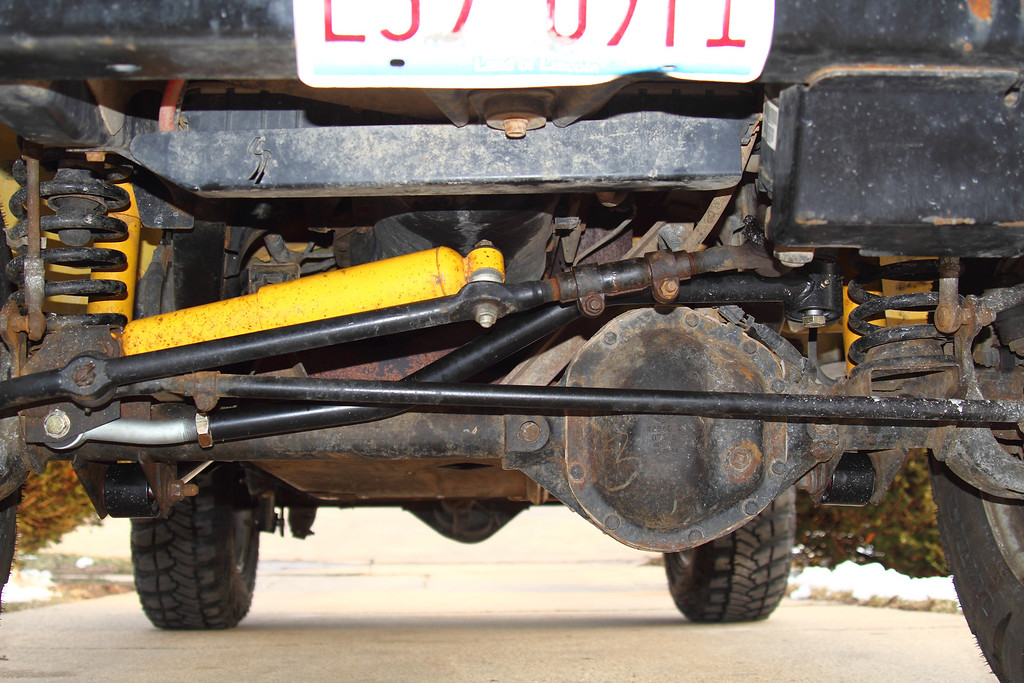
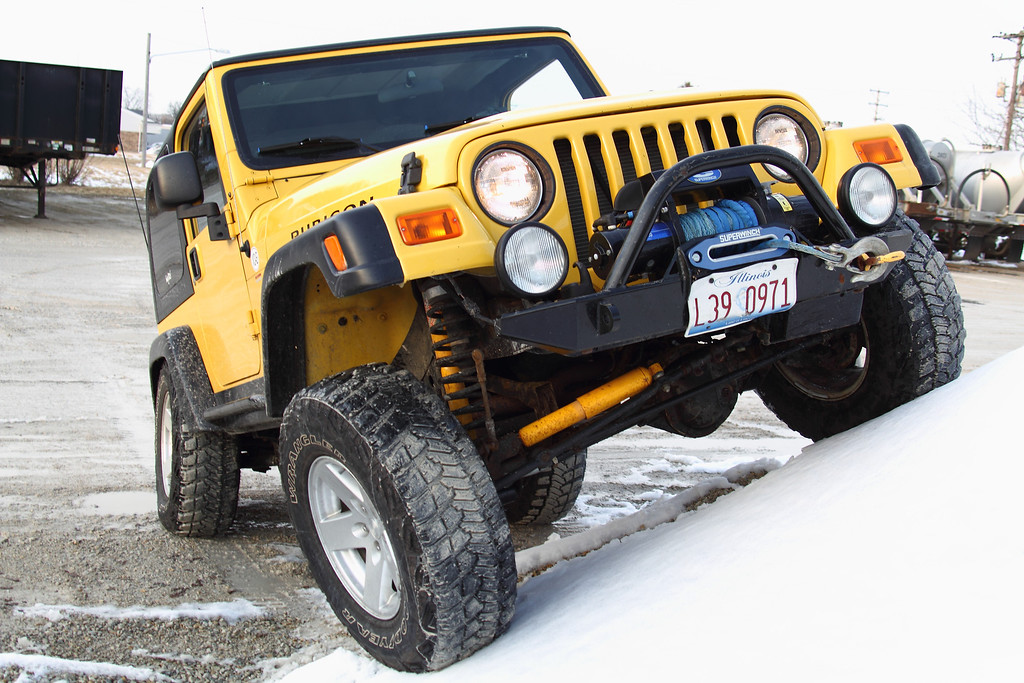
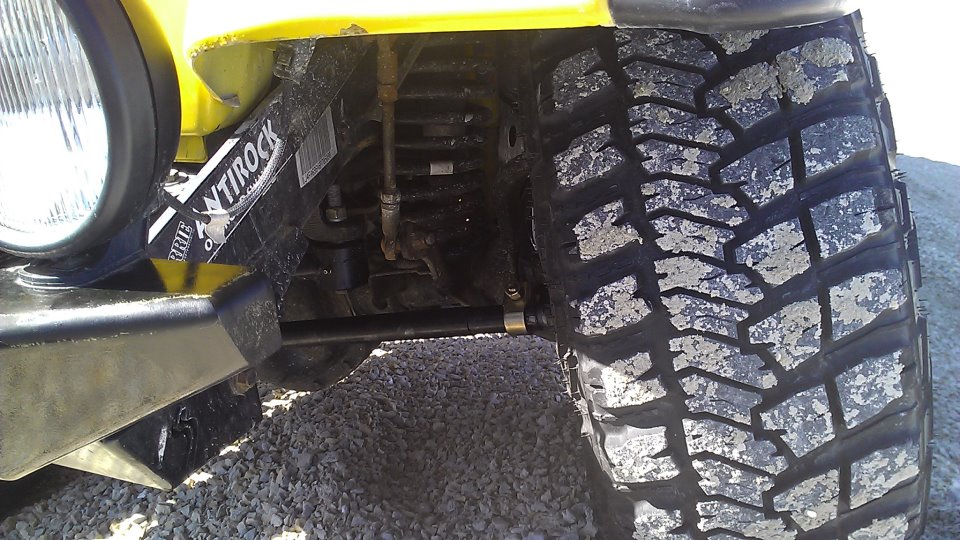
It's a 2006, Automatic, air, cruise, 6-disc CD, Canadian model. Being from Canada it has daytime running lights, that you can't just turn off. It had the instrument panel swapped out when it crossed the border as well. It had around 27,800 miles on it when I picked it up, and the MTR's were wore pretty good, so new shoes will be coming soon.
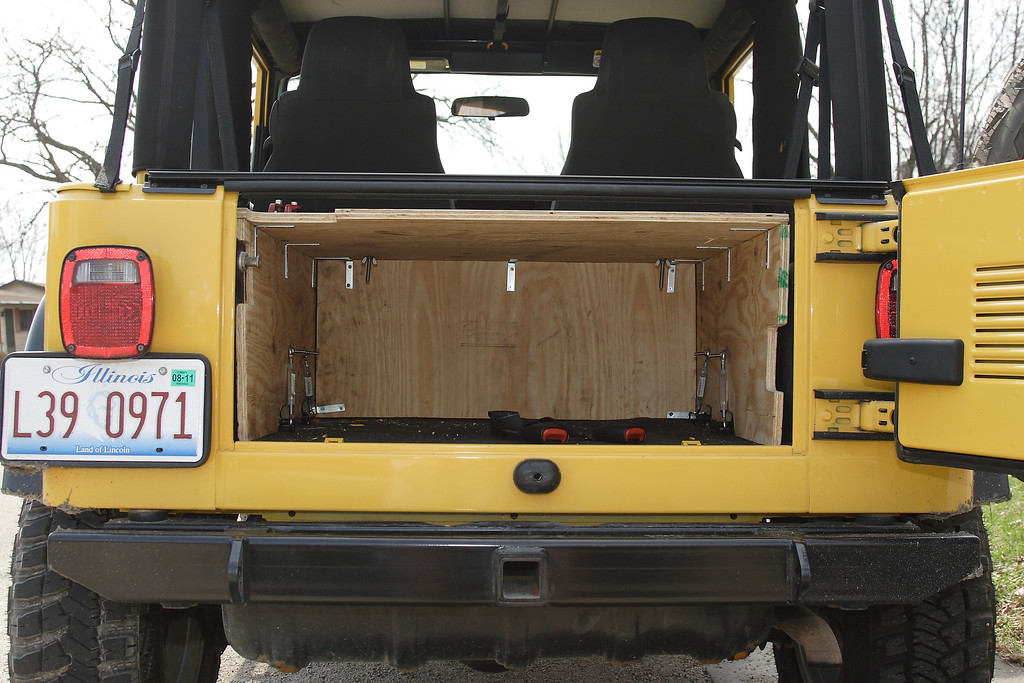
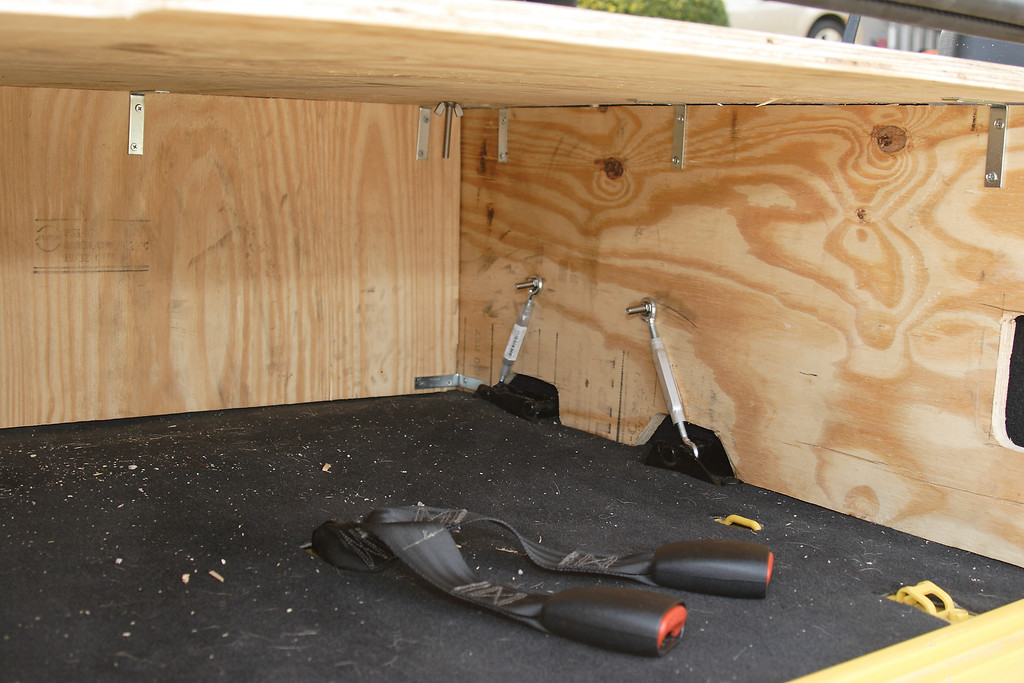
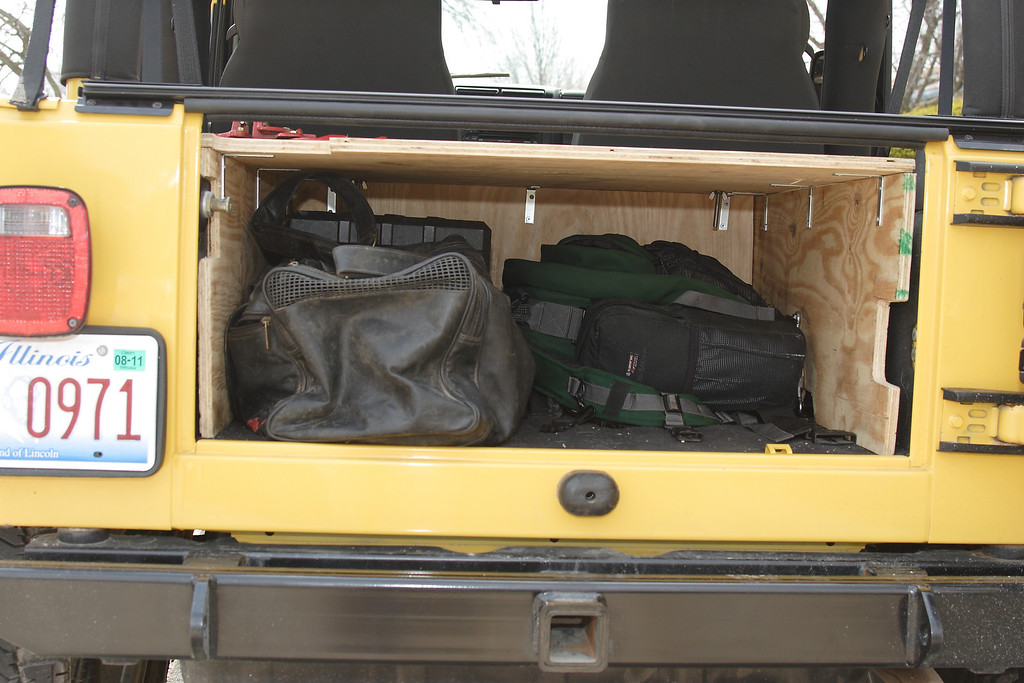
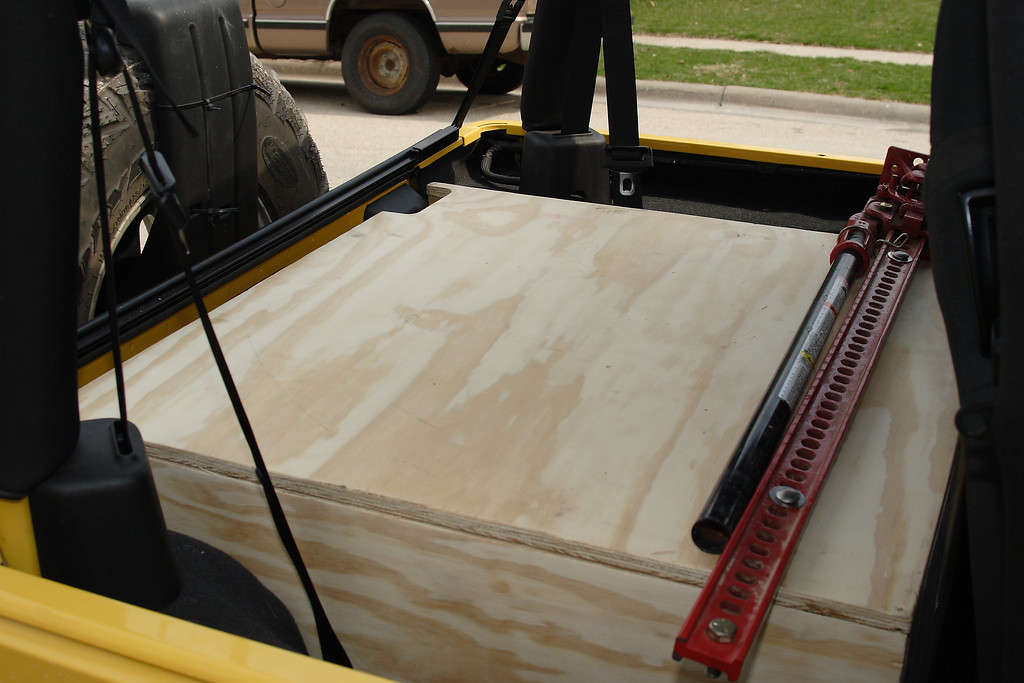
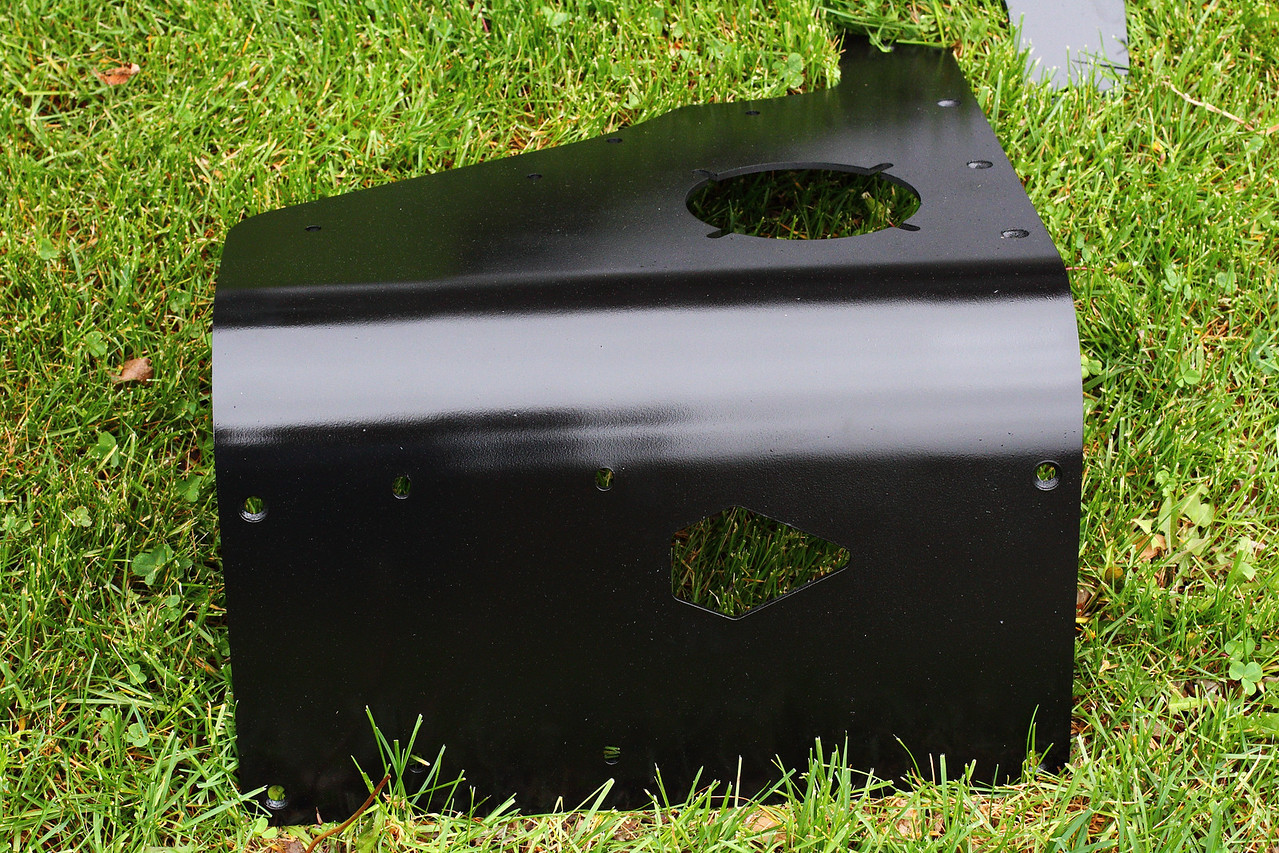
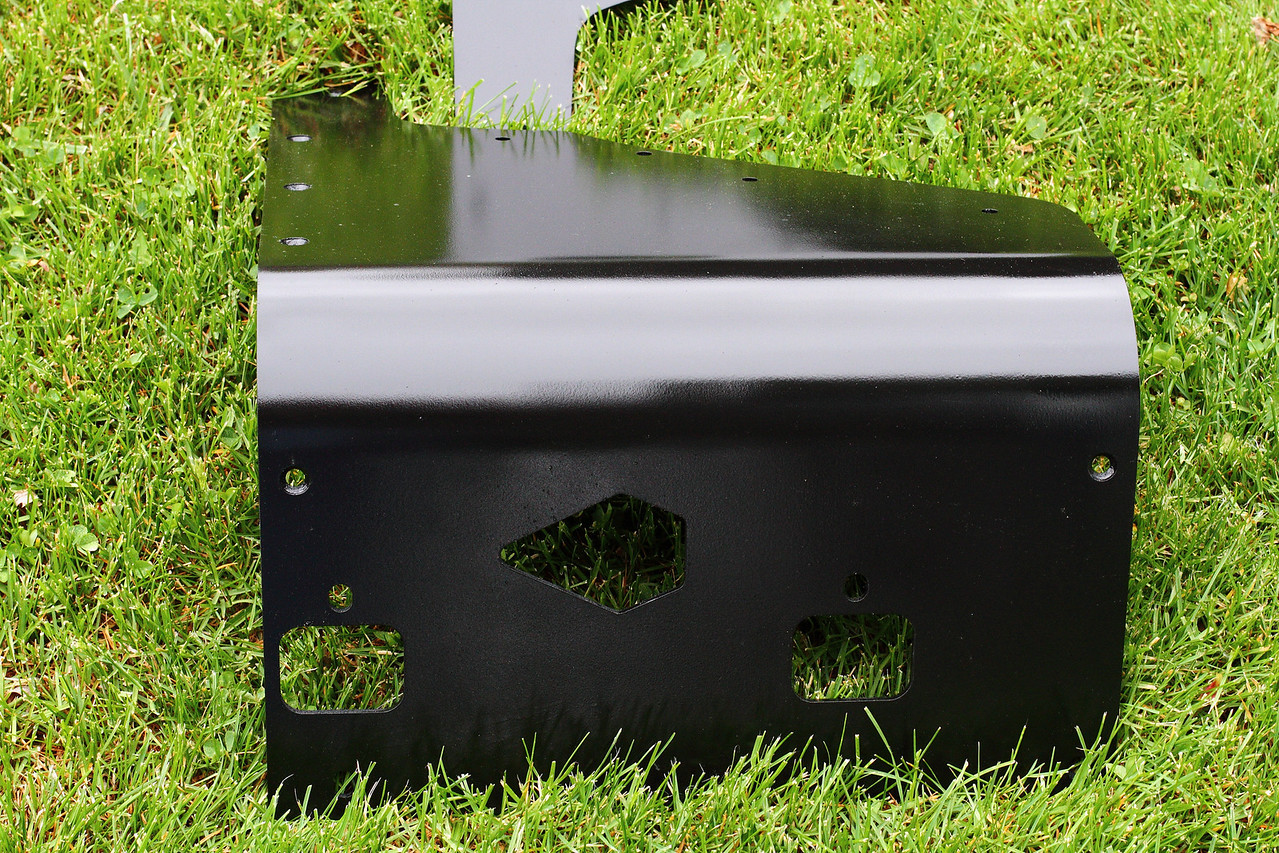
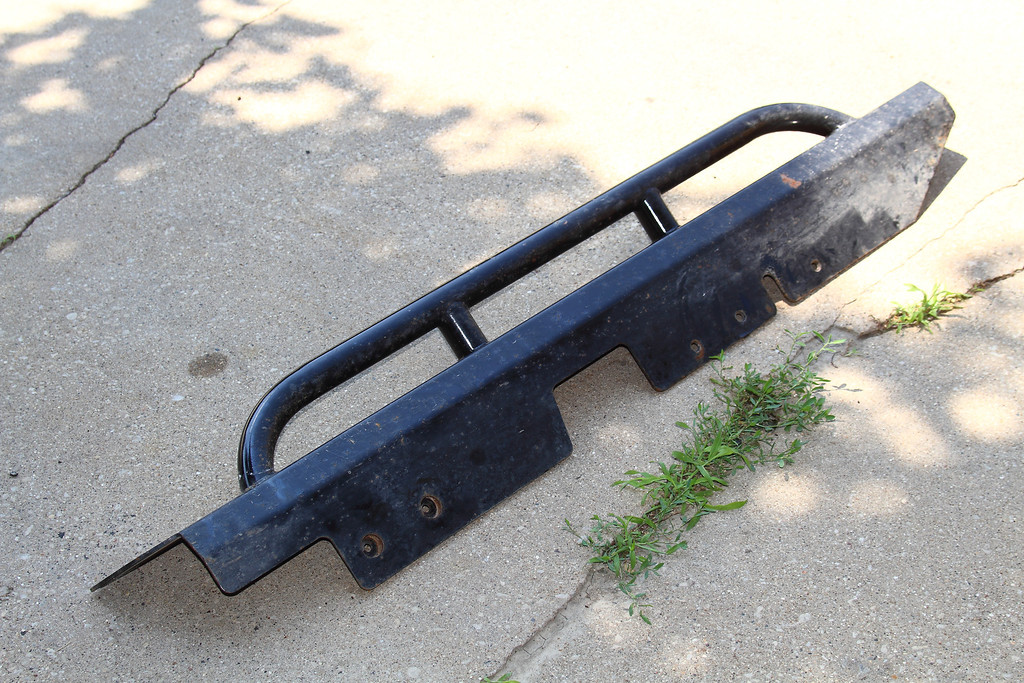
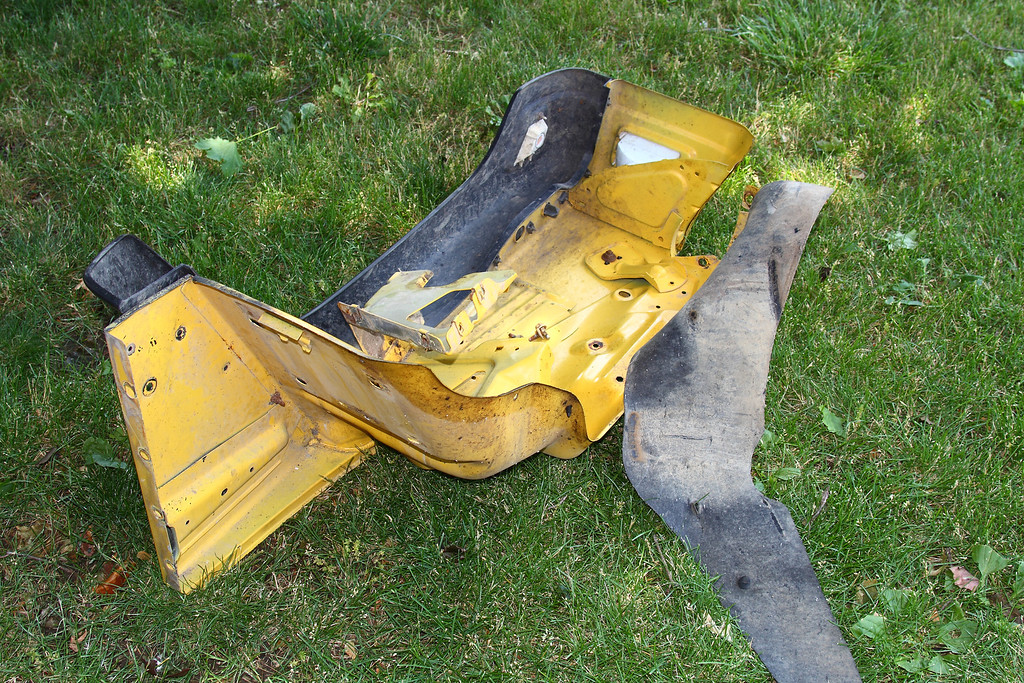
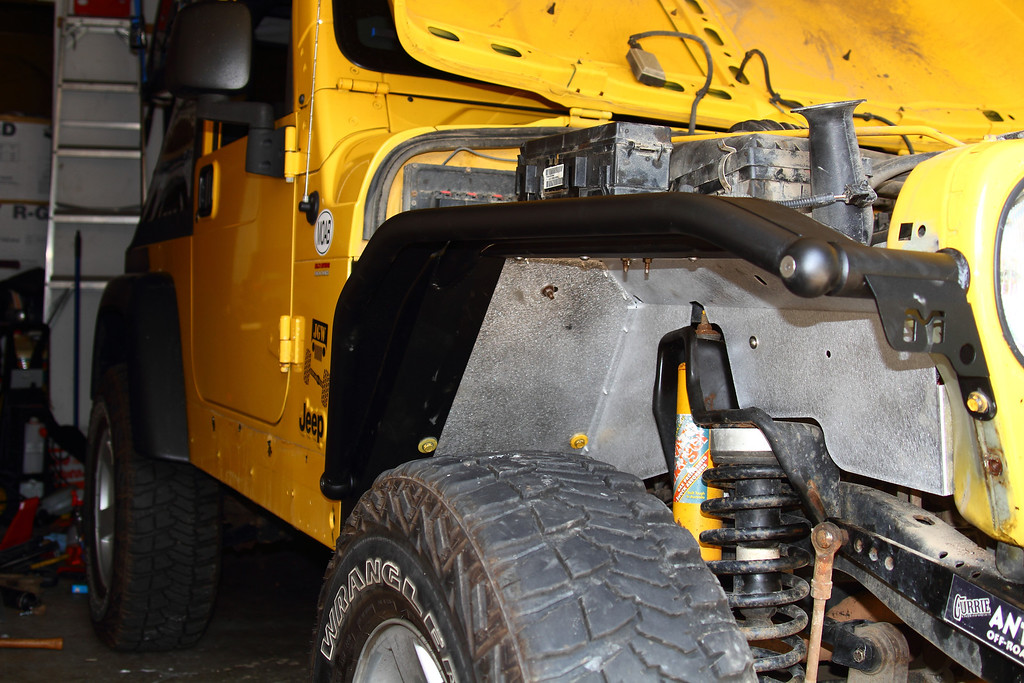
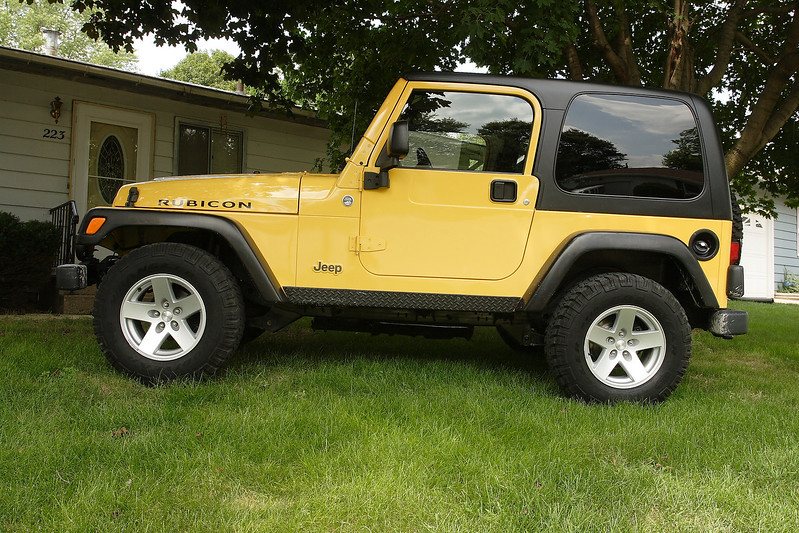
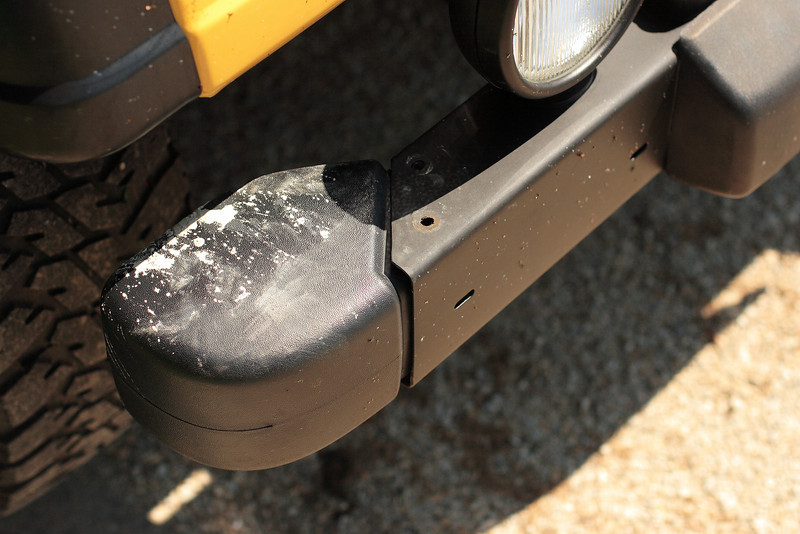
I decided he milk jugs needed to go asap....
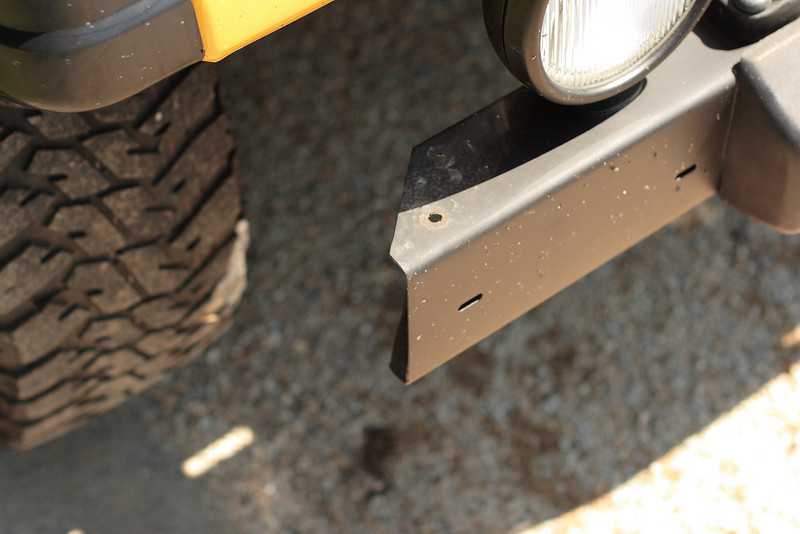
Now you see them....
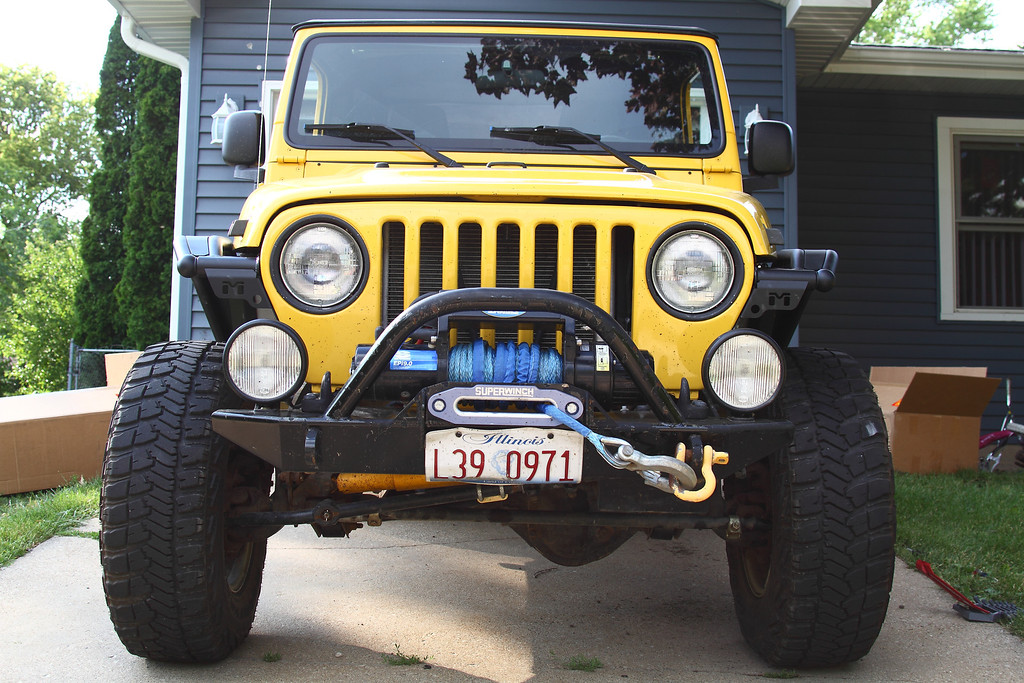
Now you don't.
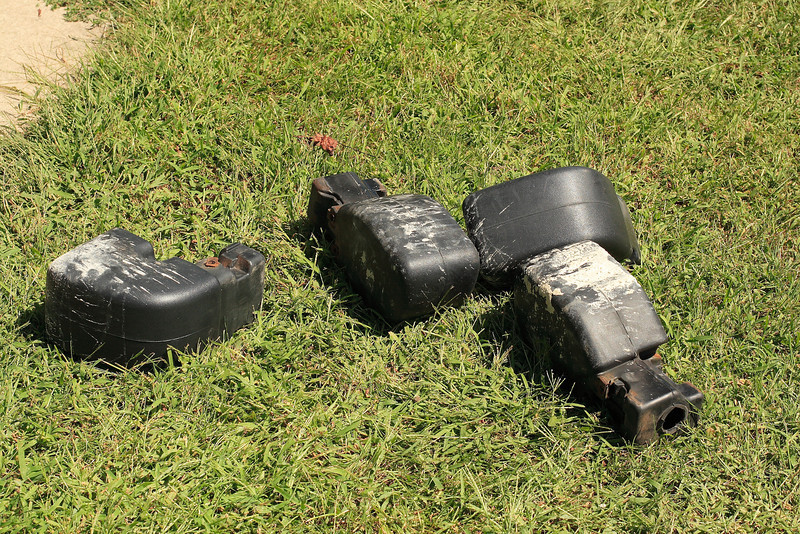
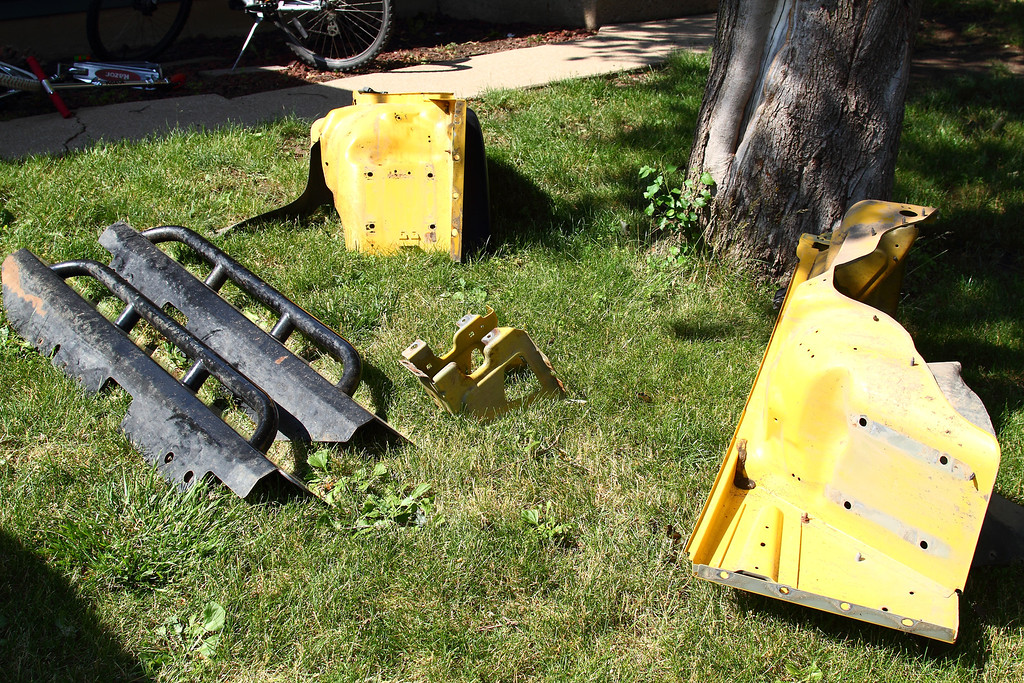
They don't even look good laying in the grass.
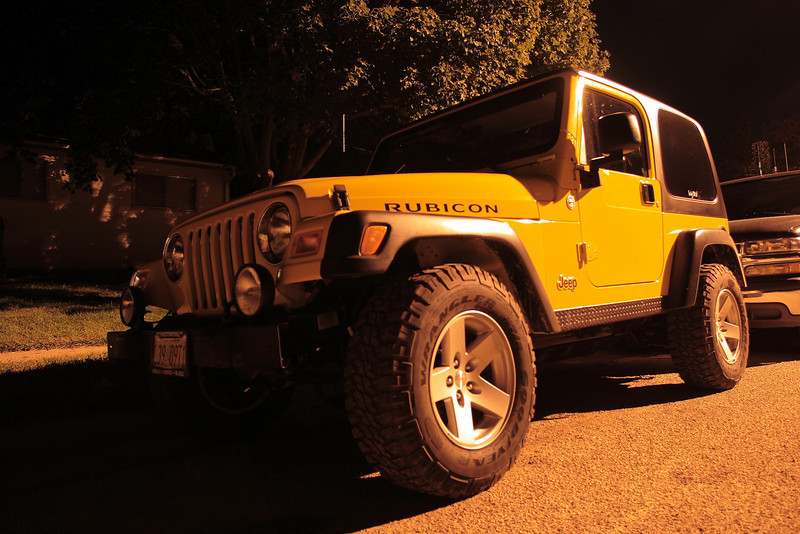
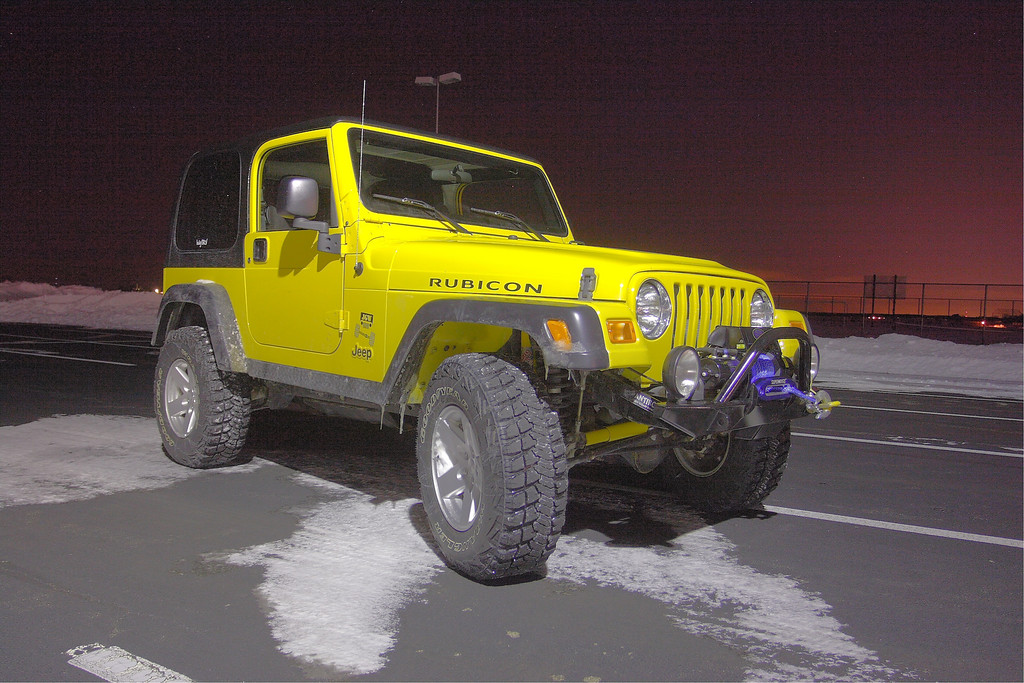
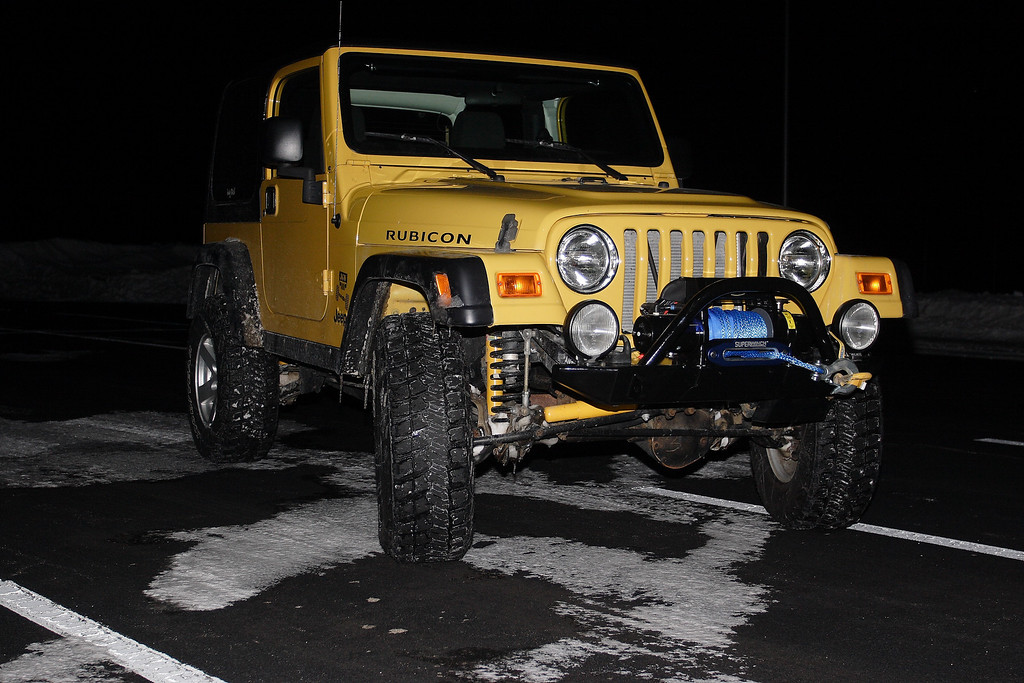
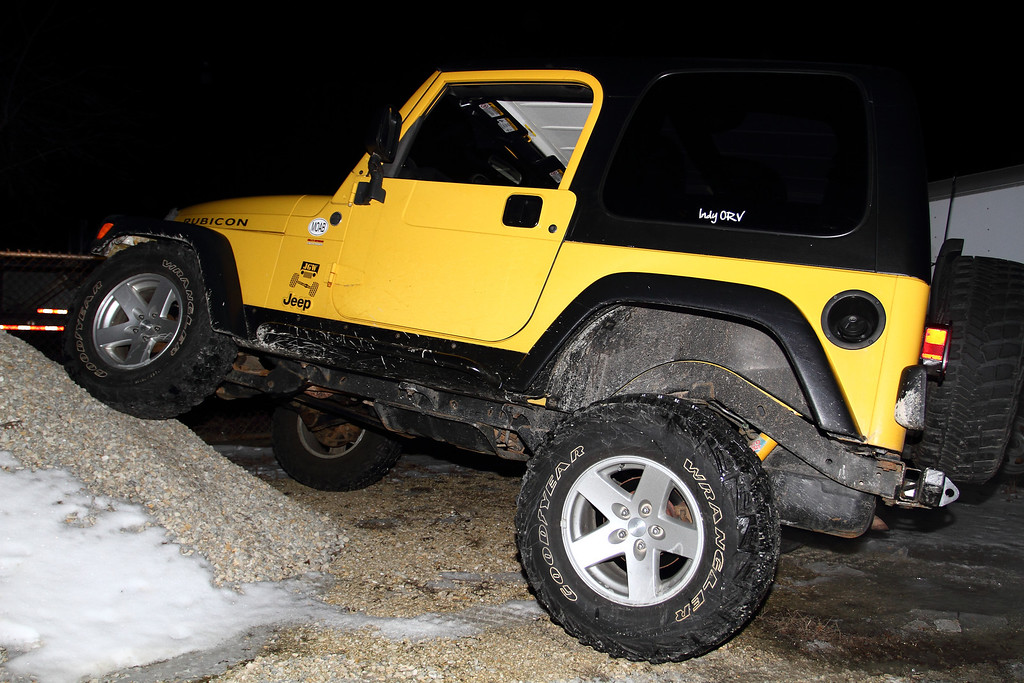
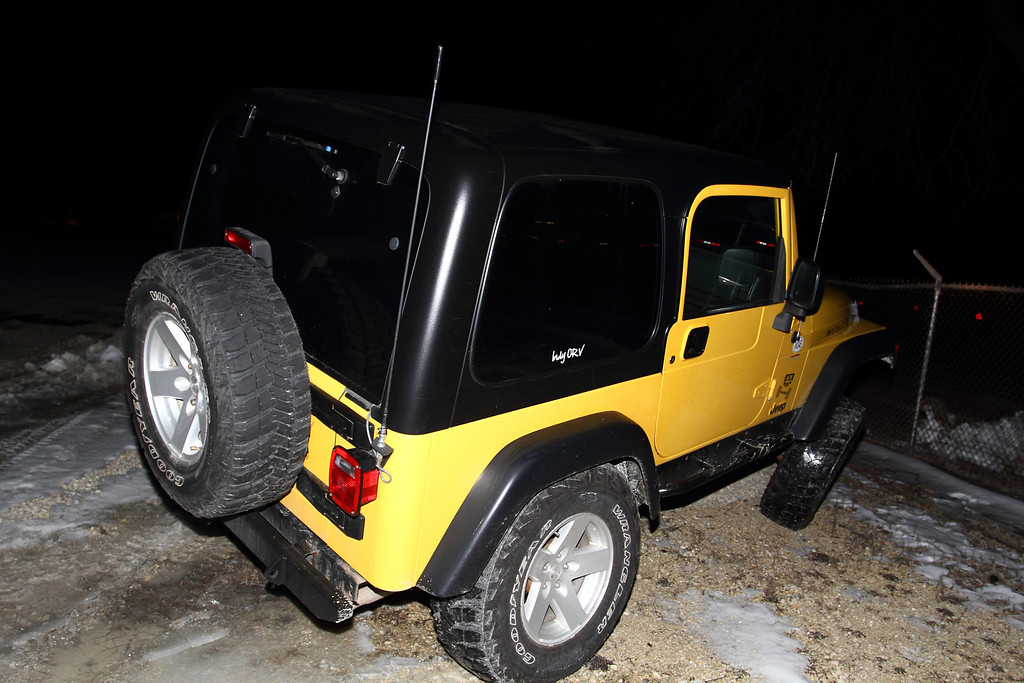
My customary night shot.

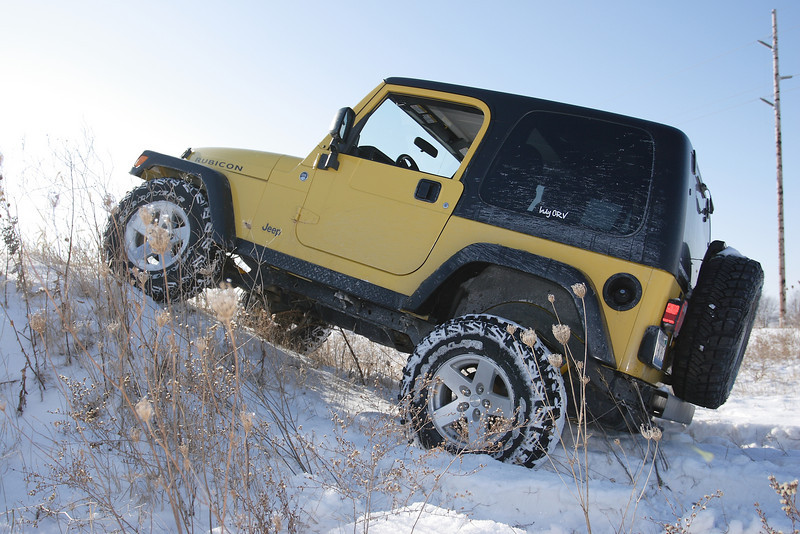
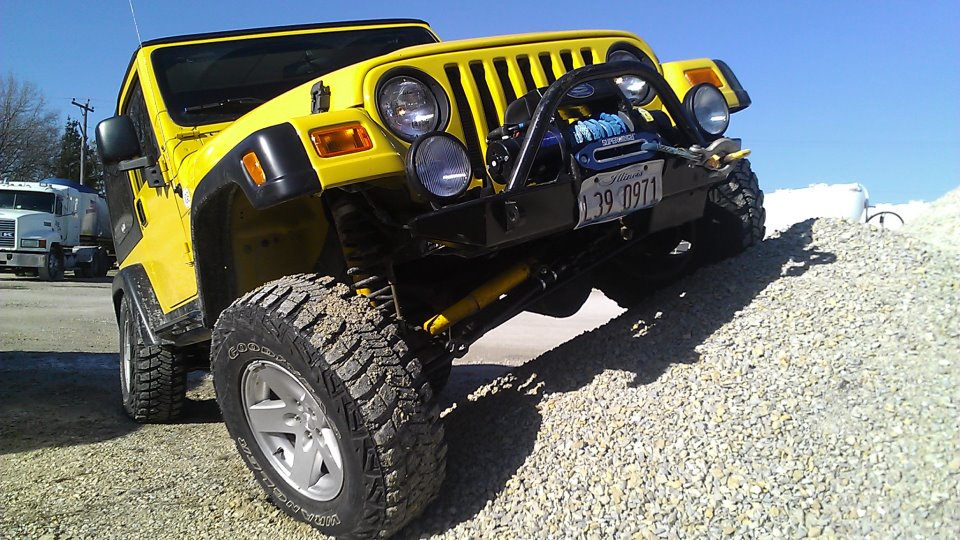
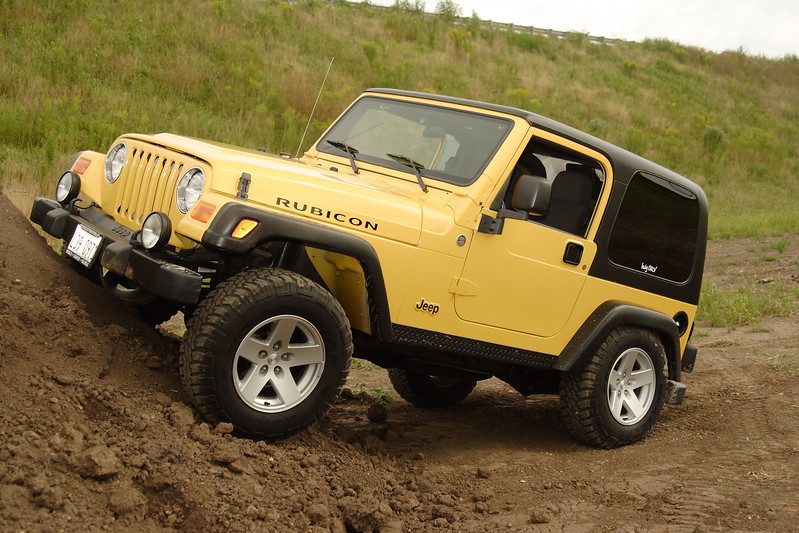
I didn't waste anytime taking it wheeling, this was @ The Badlands.
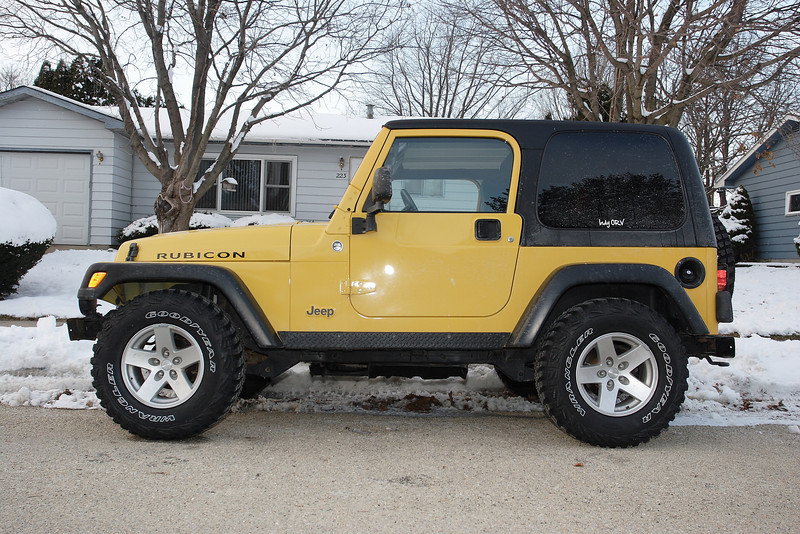
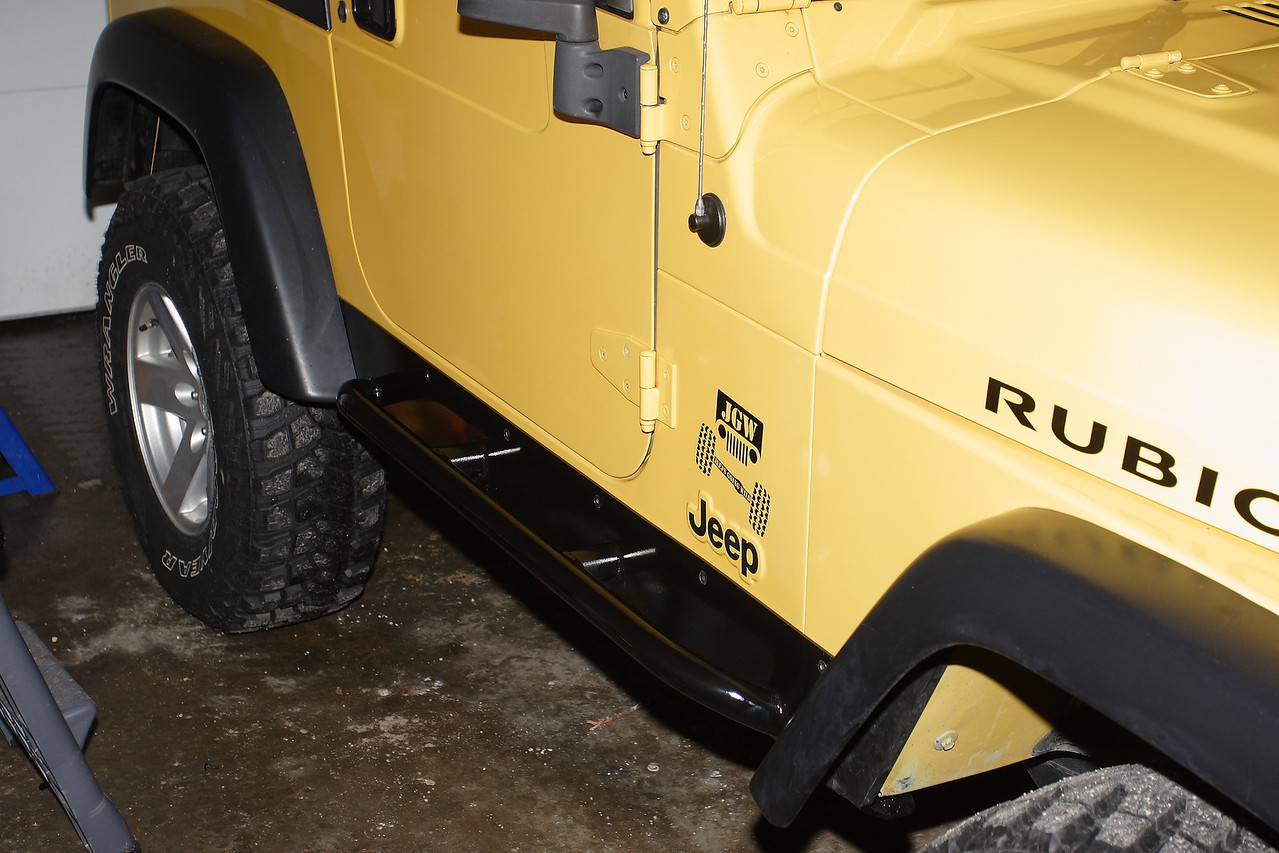
The only "mod" I've done so far is getting a set of Husky Liner's for the interior. I had them in the YJ and loved them.
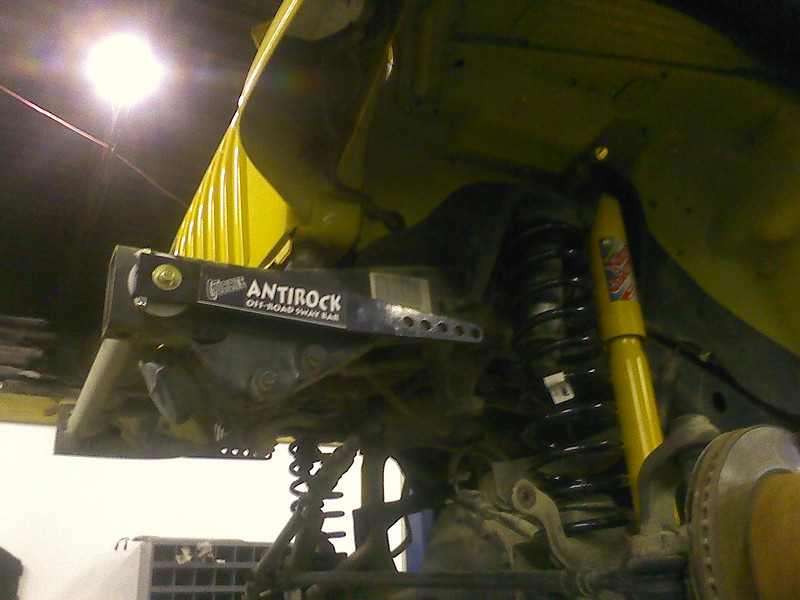
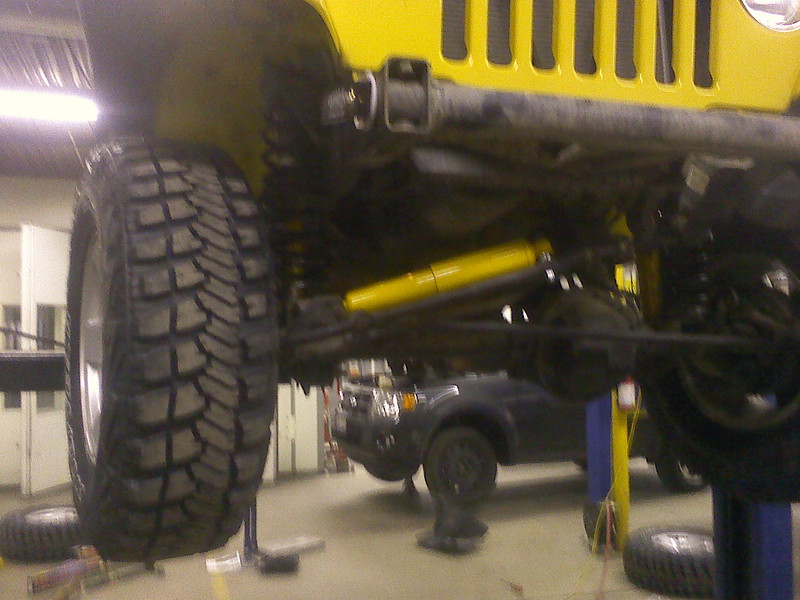
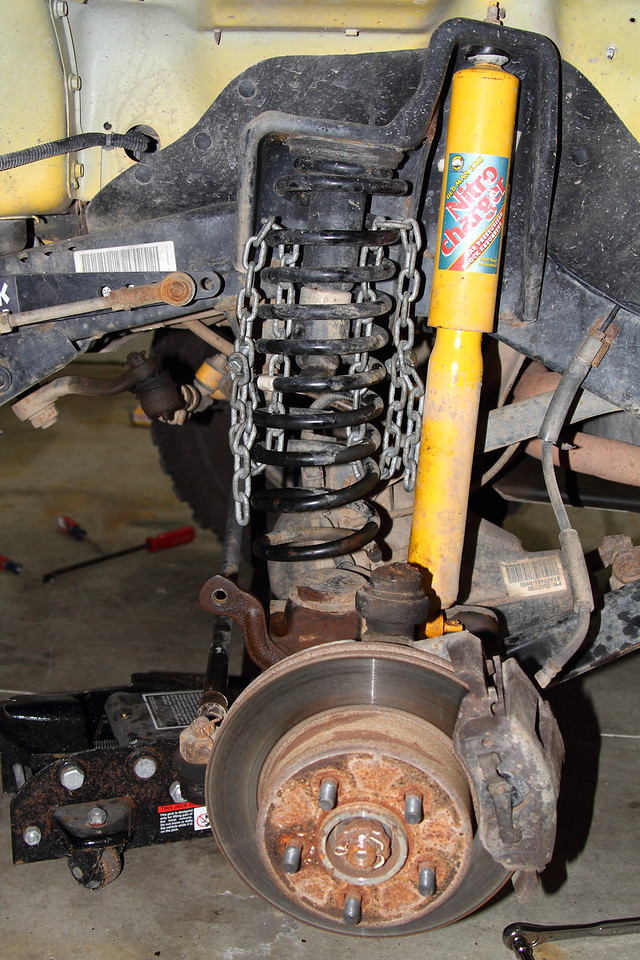
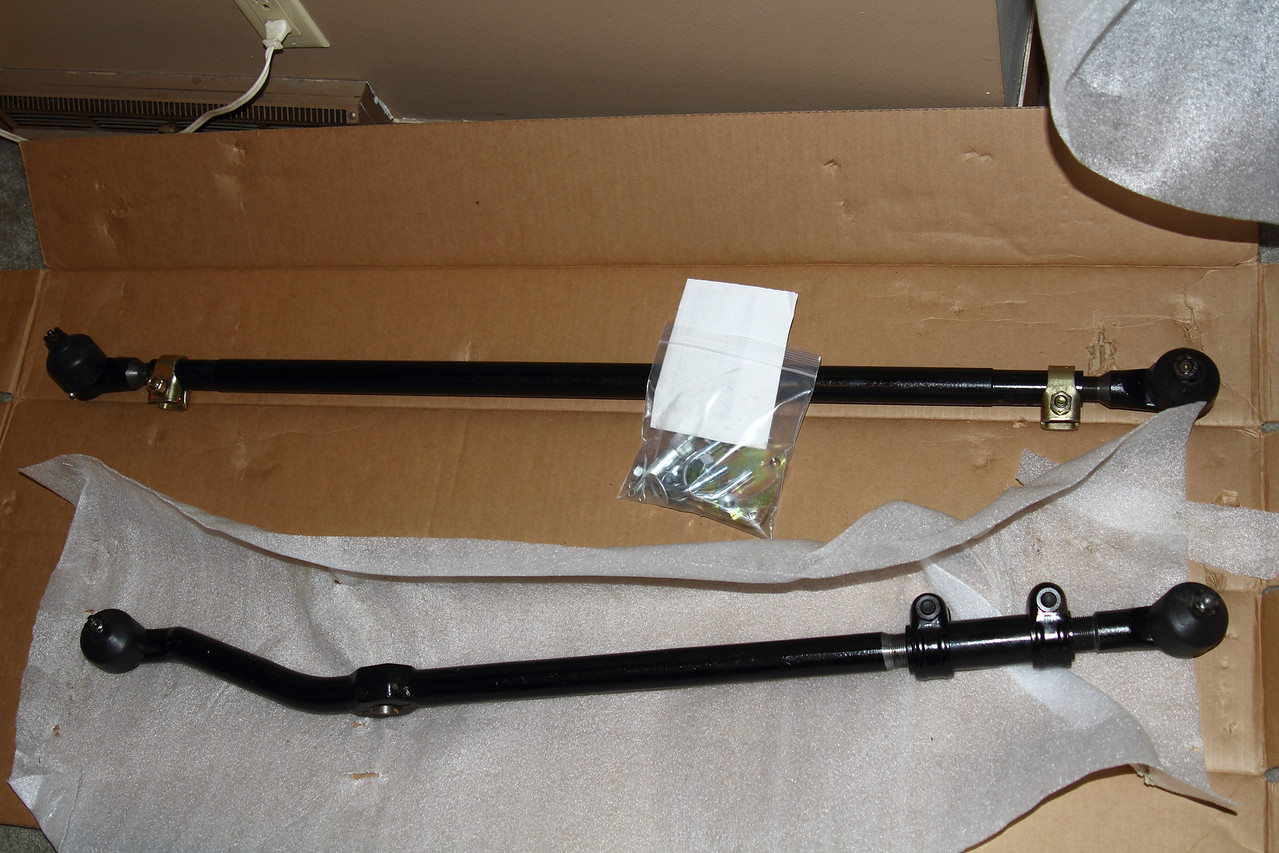
Now that the YJ is gone, and I have a few bucks to spend, I'll be making some more changes in the very near future. This build will be more towards how I actually wheel, based on what I learned over the last 3 1/2 years with the YJ. I probably won't go as tall as I had before. This will be my daily driver and see trails on occassion...maybe 6 times a year on average.
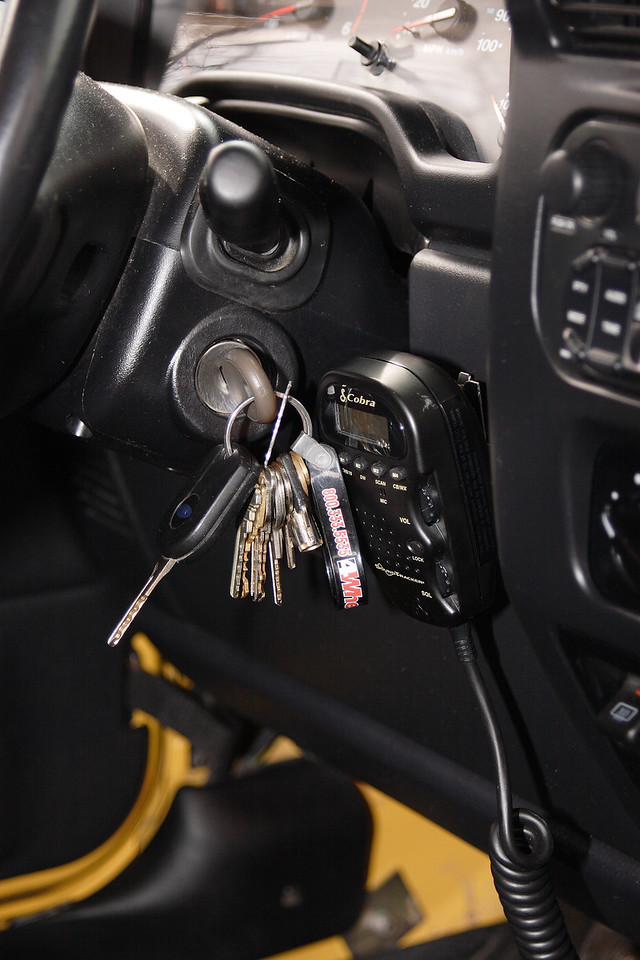
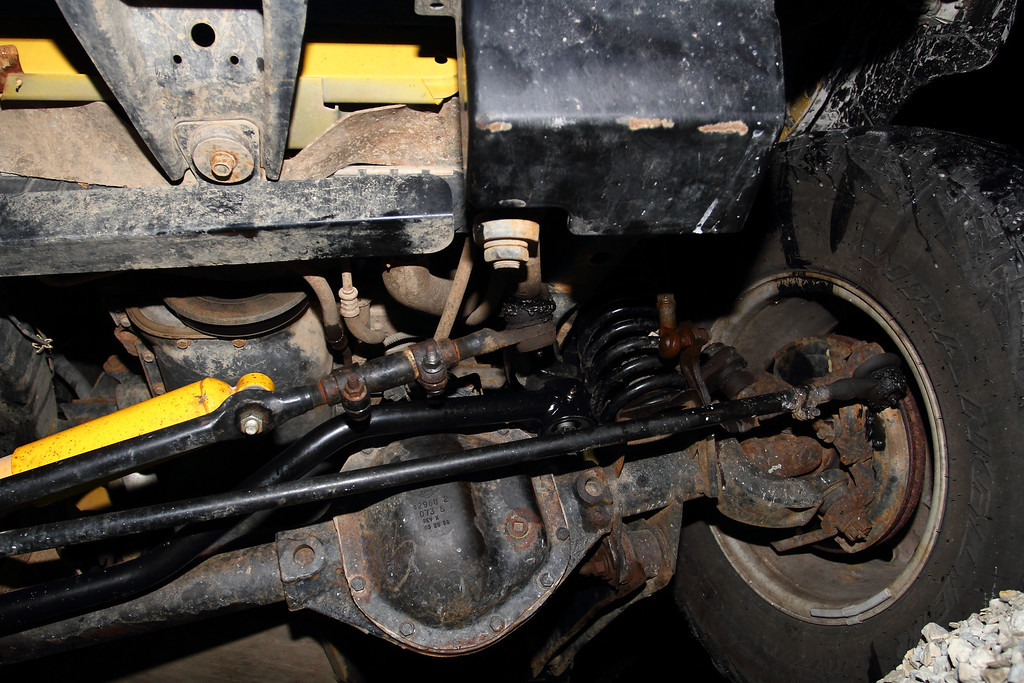
Before my Rubicon I had a YJ. Here's one last shot of it....
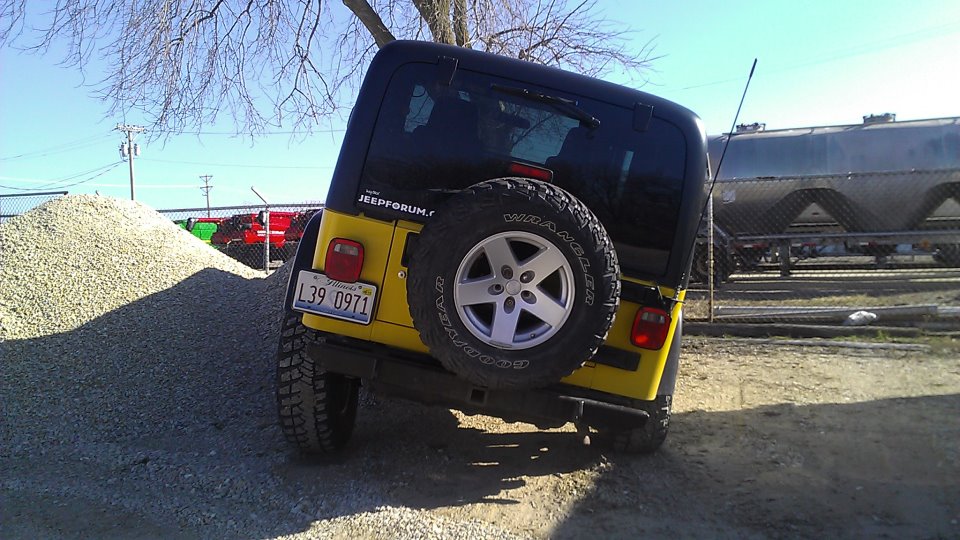
I always wanted a Rubicon, and was able to aquire this one:
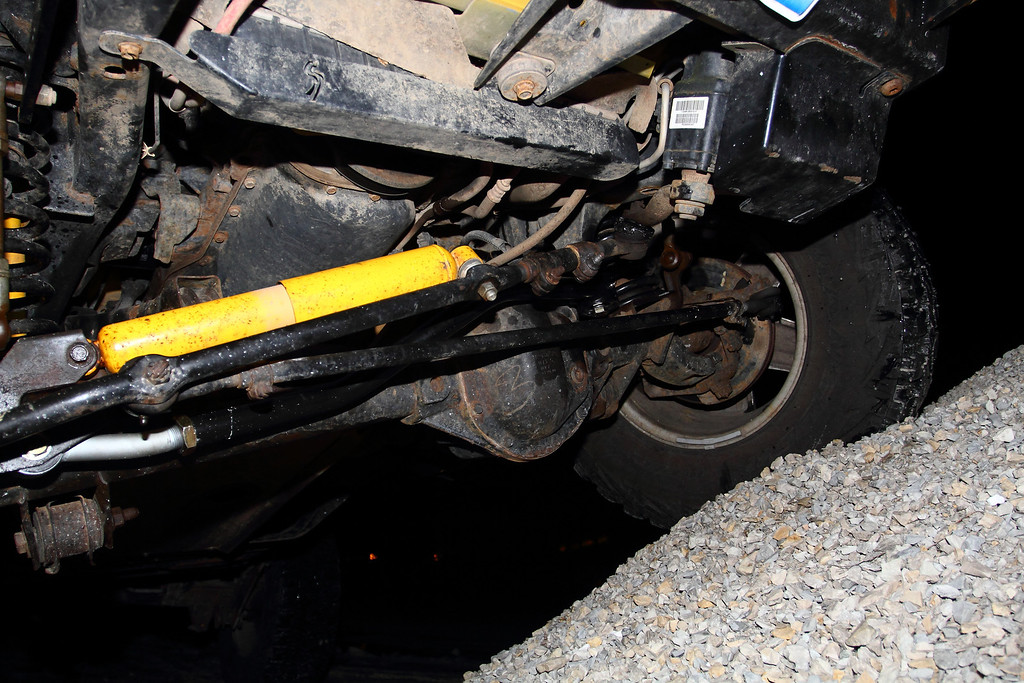
It's first dirt....lol.
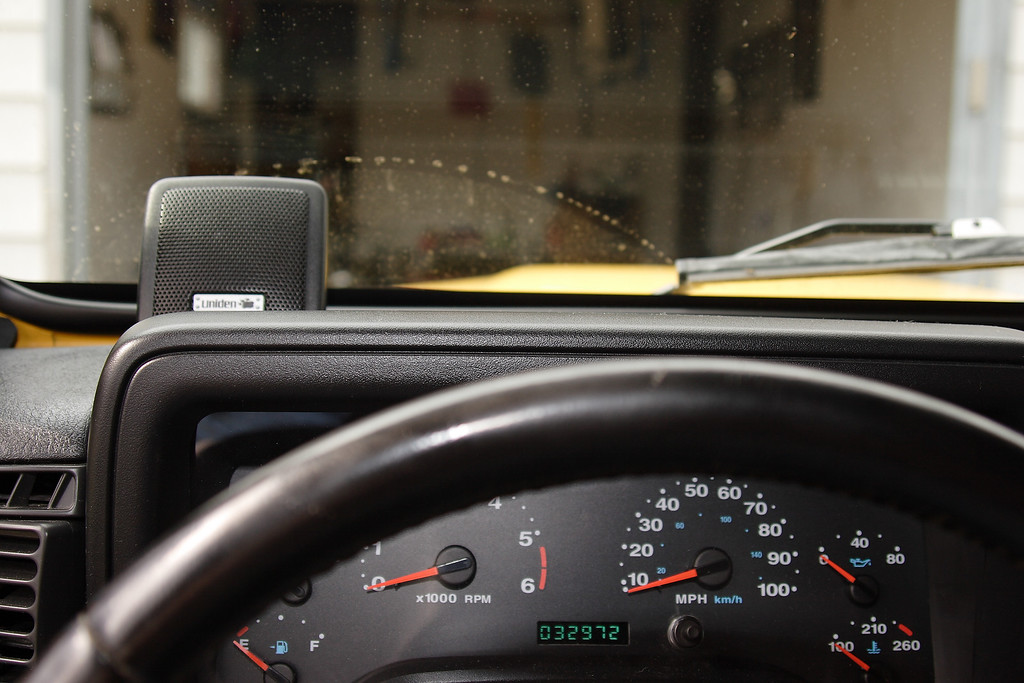
It's a 2006, Automatic, air, cruise, 6-disc CD, Canadian model. Being from Canada it has daytime running lights, that you can't just turn off. It had the instrument panel swapped out when it crossed the border as well. It had around 27,800 miles on it when I picked it up, and the MTR's were wore pretty good, so new shoes will be coming soon.
I decided he milk jugs needed to go asap....
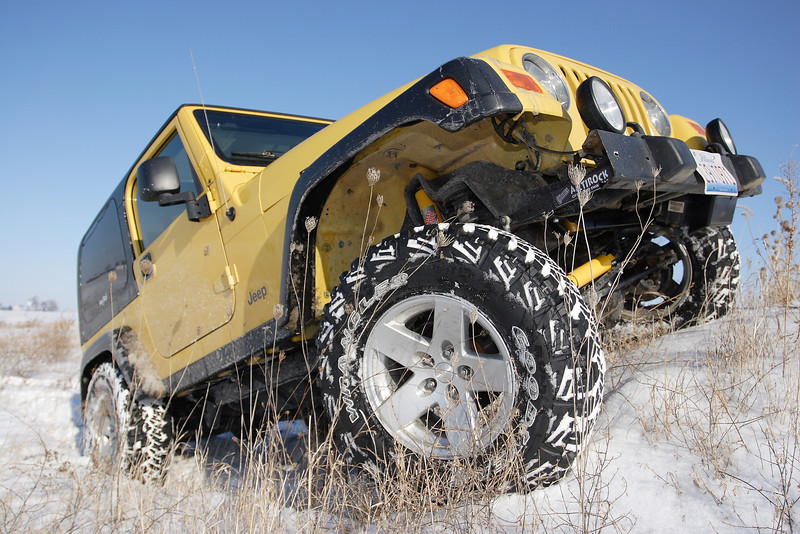
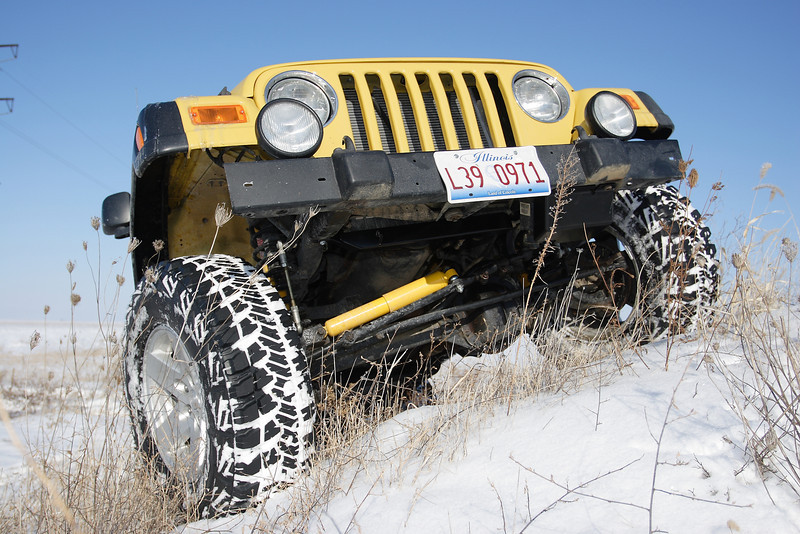
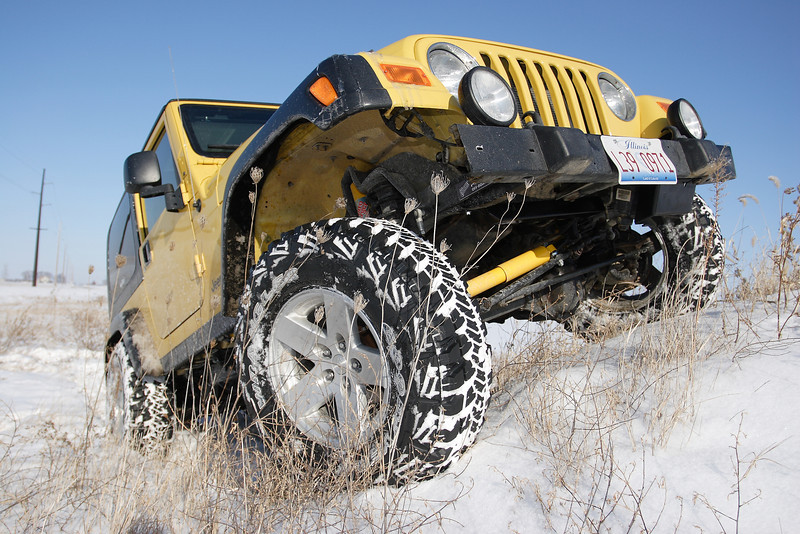
Now you see them....
Now you don't.
They don't even look good laying in the grass.
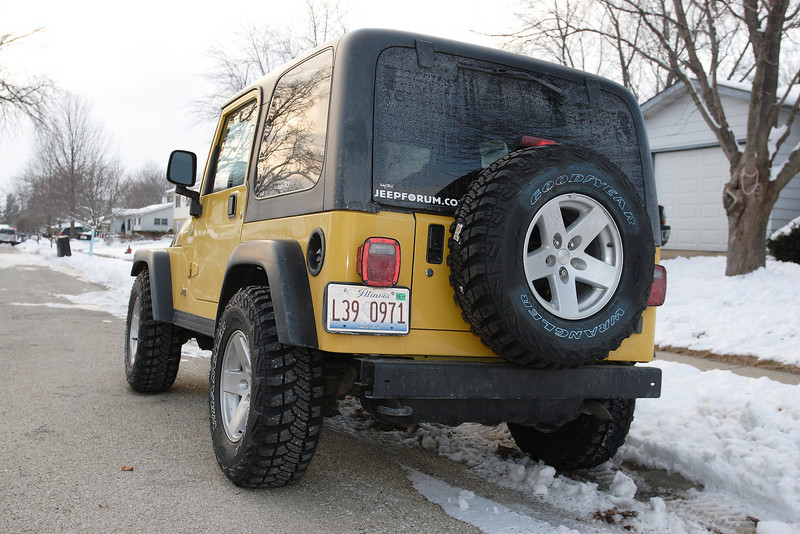
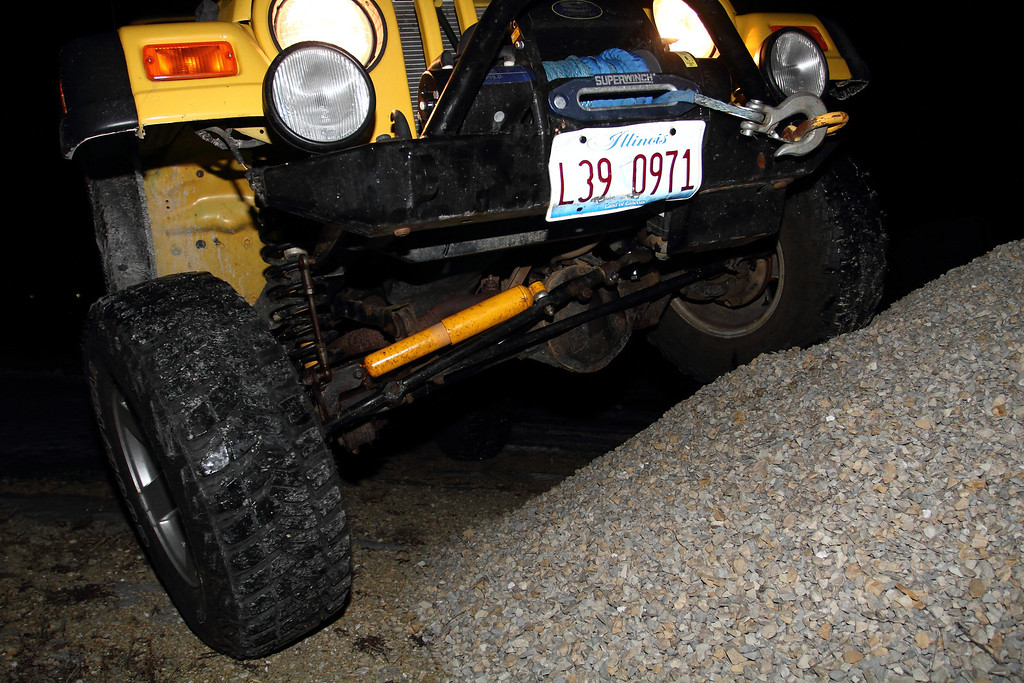
My customary night shot.
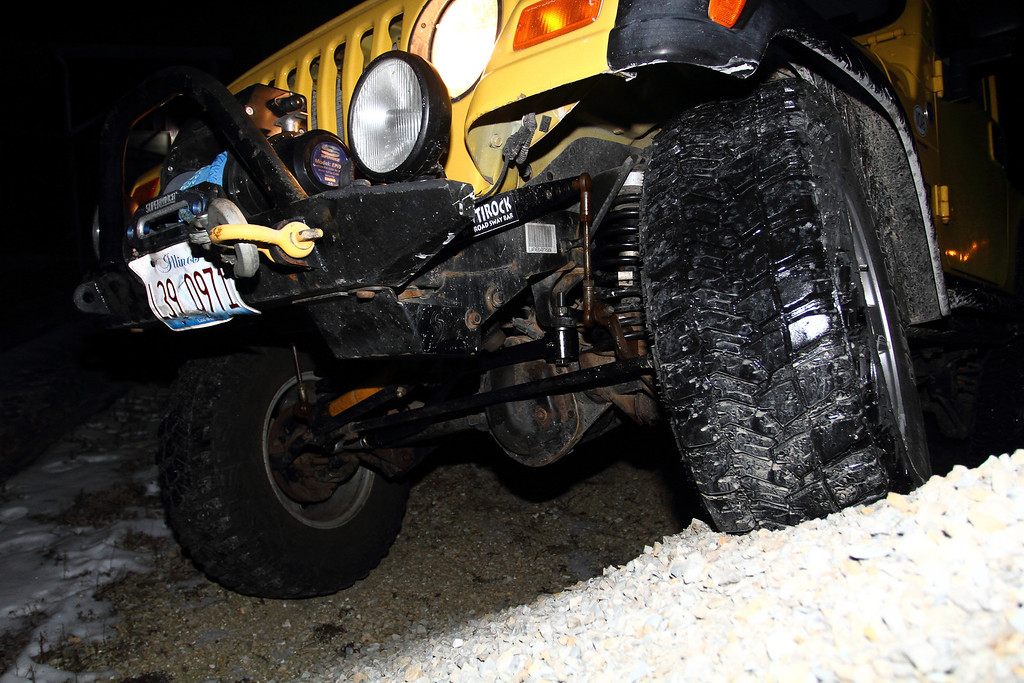
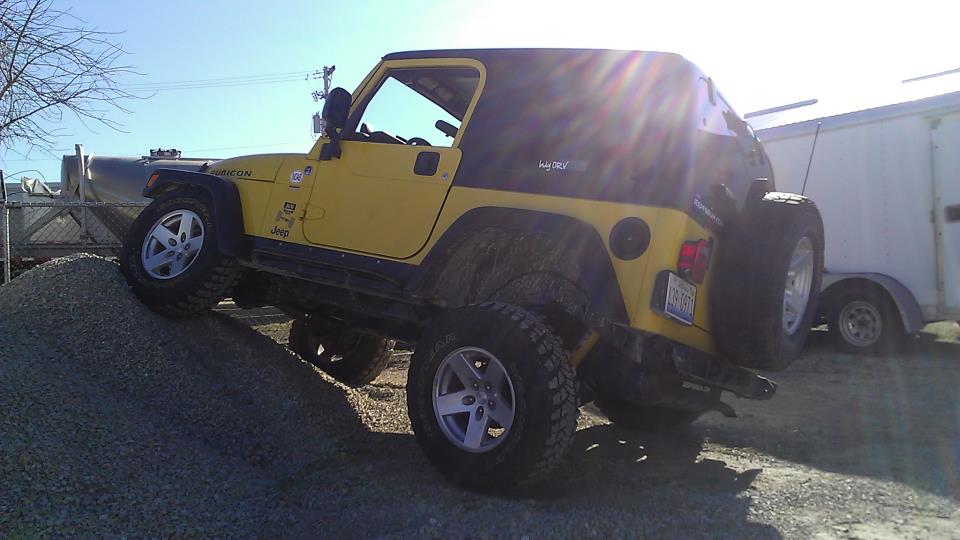
I didn't waste anytime taking it wheeling, this was @ The Badlands.
The only "mod" I've done so far is getting a set of Husky Liner's for the interior. I had them in the YJ and loved them.
Now that the YJ is gone, and I have a few bucks to spend, I'll be making some more changes in the very near future. This build will be more towards how I actually wheel, based on what I learned over the last 3 1/2 years with the YJ. I probably won't go as tall as I had before. This will be my daily driver and see trails on occassion...maybe 6 times a year on average.